Why on earth would you walk all the way to a hat store to throw away your money buying a hat when you can easily make one for yourself? Trust me, it’s not rocket science. Many have tried and many have succeeded, why get left out. Learning how to crochet a hat is probably the most amazing lesson you will ever want to put yourself in. The skill is as easy as it looks, and the greatest part is once, you have totally learnt how to do it you can totally go pro and do your own designs. You can even begin to sell the hats yourself and make money out of it. How brilliant is this? You want all the above, then you should go on and learn how to crochet a hat below.
Related articles about how to crochet a hat
Taking measurements The first thing you need to know is the size of the hat you are going to crochet. You can’t just go about guessing the sizes with your own hands. The process requires a careful look into the measurements of the head for which the hat is for so that you don’t end up making something that looks totally awkward. The measurements will also determine the crochet tactics and the amount of yarn you will need on your list of requirements. Another thing you need to have in mind is that the circumference of the hat always has to a bit smaller than that of the head for which the hat is meant for.

Gather your materials
Hats obviously don’t come from nowhere, you need to gather your tools before you can begin. Lucky for you, all these items are readily available in most stores around you. The materials include the following;
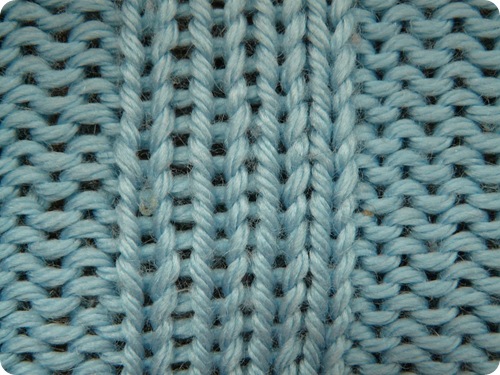
· Skein of yarn
· Crochet hook
· Plastic tapestry needle
· A pair of scissors
The crochet process
Crochet in the round
After gathering your materials, this is the next step. This is where you join two ends of a chain and work in a circle. The whole idea of crocheting is about working in circles as you move outwards. To get started with the process, you need to form a chain and join it together using a slip stitch.
Continue to make other 8 single crochet stitches through the center of the ring and then join them together with a similar slip stitch. You should also make sure that you indicate the point you began from so that you can easily, identify it once you come round to it.
Once you have done the above, you need to do 2 more single crochets on each of the stitches to form a round total of 16 stitches. You should then proceed to connect these stitches together with the same kind of slip stitch as before.
To add width onto your hat you need to change your technique. You need to add one crochet to the first stitch and tow to the next stitch. Go on like this until the width you love is achieved. You can also choose to add a brim on the hat which is quite easy to make, as all you need to do is. Add more rows to the bottom and increasing the crochets on the stitches as before. Just like that you can go on to add any designs you like on your hat.