Are you tired of spending hours trying to remove the upper ball joint from your vehicle? Look no further than an upper ball joint removal tool. This tool can make the process easier and more efficient, allowing you to get back on the road in no time. In this guide, we will provide a step-by-step process for using an upper ball joint removal tool, as well as tips and tricks to ensure success.
What is an Upper Ball Joint Removal Tool?
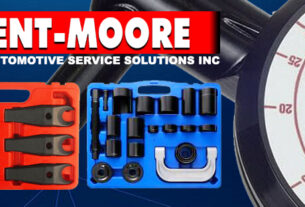
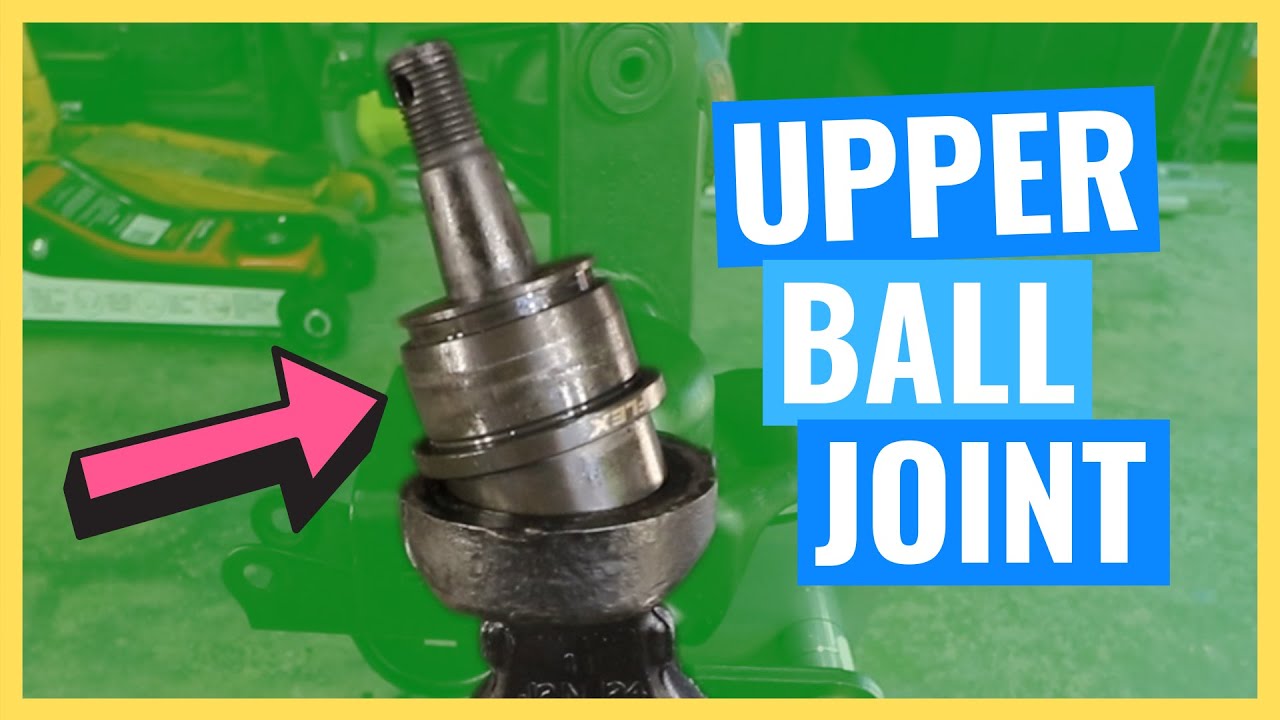
An upper ball joint removal tool is a specialized tool designed to simplify the process of removing the upper ball joint from your vehicle. The upper ball joint connects the steering knuckle to the control arm, allowing for smooth movement of the suspension system. Over time, this joint can become worn out or damaged, leading to decreased performance and safety concerns.
Using an Upper Ball Joint Removal Tool
Before using an upper ball joint removal tool, it’s important to first gather all necessary materials and equipment. This includes:
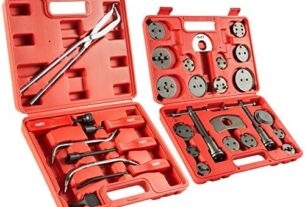
– An upper ball joint removal tool
– A hammer
– Safety glasses
– Gloves
– A torque wrench
Once you have all necessary materials and equipment, follow these steps:
Step 1: Jack up your vehicle and secure it with jack stands.
Step 2: Remove the wheel and tire assembly.
Step 3: Disconnect any electrical connections or brake lines that may prevent access to the upper ball joint.
Step 4: Use a torque wrench to loosen the nut that secures the upper ball joint to the steering knuckle. Do not fully remove the nut at this time.
Step 5: Position the upper ball joint removal tool over the top of the stud and tighten it securely with a wrench.
Step 6: Use a hammer to strike the handle of the removal tool until the stud pops out of its socket.
Step 7: Once the stud is removed, remove the nut and upper ball joint from the steering knuckle.
Tips and Tricks for Success
– Always wear safety glasses and gloves when working with tools.
– Make sure your vehicle is securely supported on jack stands before beginning any repair work.
– Use a torque wrench to ensure proper tightening of nuts and bolts.
– If you encounter resistance during the removal process, apply penetrating oil to help loosen any rust or corrosion.
– Take your time and be patient. Rushing can lead to mistakes or accidents.
Conclusion
An upper ball joint removal tool can make the process of removing a worn or damaged upper ball joint much easier and more efficient. By following the steps outlined in this guide and utilizing the tips and tricks provided, you can successfully complete this DIY repair job with confidence. Remember to always prioritize safety and take your time to ensure success.
References:
– Upper Ball Joint Removal Tool: https://www.amazon.com/Upper-Ball-Joint-Removal-Tool/dp/B07CJW6N8M
– How to Replace Upper Ball Joints: https://www.wikihow.com/Replace-Ball-Joints
– Safety Tips for DIY Auto Repair: https://www.artofmanliness.com/articles/safety-tips-for-diy-auto-repair/