Cycling enthusiasts know the importance of a well-maintained bike. One crucial aspect that can make or break your ride is the alignment of the derailleur hanger. Even a slight misalignment can lead to poor shifting, chain skipping, and other issues that affect your overall performance. That’s where a derailleur hanger alignment tool comes in handy.
In this article, we’ll dive into everything you need to know about derailleur hanger alignment tools, including their importance, types available, how to use them, and common mistakes to avoid. So grab your coffee and get ready to learn!
Why is Derailleur Hanger Alignment Important?
The derailleur hanger is a small metal component that attaches the derailleur to the frame of your bike. It plays a vital role in ensuring smooth gear changes by keeping the derailleur in the correct position relative to the cassette. However, this tiny piece is susceptible to damage and misalignment due to crashes, transportation mishaps, or simple wear and tear.
A misaligned derailleur hanger causes several issues that can ruin your ride experience. Here are some common symptoms:
– Poor shifting: You may experience difficulty shifting gears or hear clunky noises when trying to do so.
– Chain skipping: The chain may jump off the gears unexpectedly while pedaling.
– Premature wear: A misaligned hanger puts extra stress on the drivetrain components such as chains, cassettes, and derailleurs, leading to faster wear and tear.
– Brake rub: The brakes may rub against the wheel rim due to an unevenly aligned hanger.
If you notice any of these symptoms, it’s time to check your derailleur hanger alignment.
Types of Derailleur Hanger Alignment Tools
There are two main types of derailleur hanger alignment tools available on the market: the standalone tool and the multi-tool.
Standalone Tool
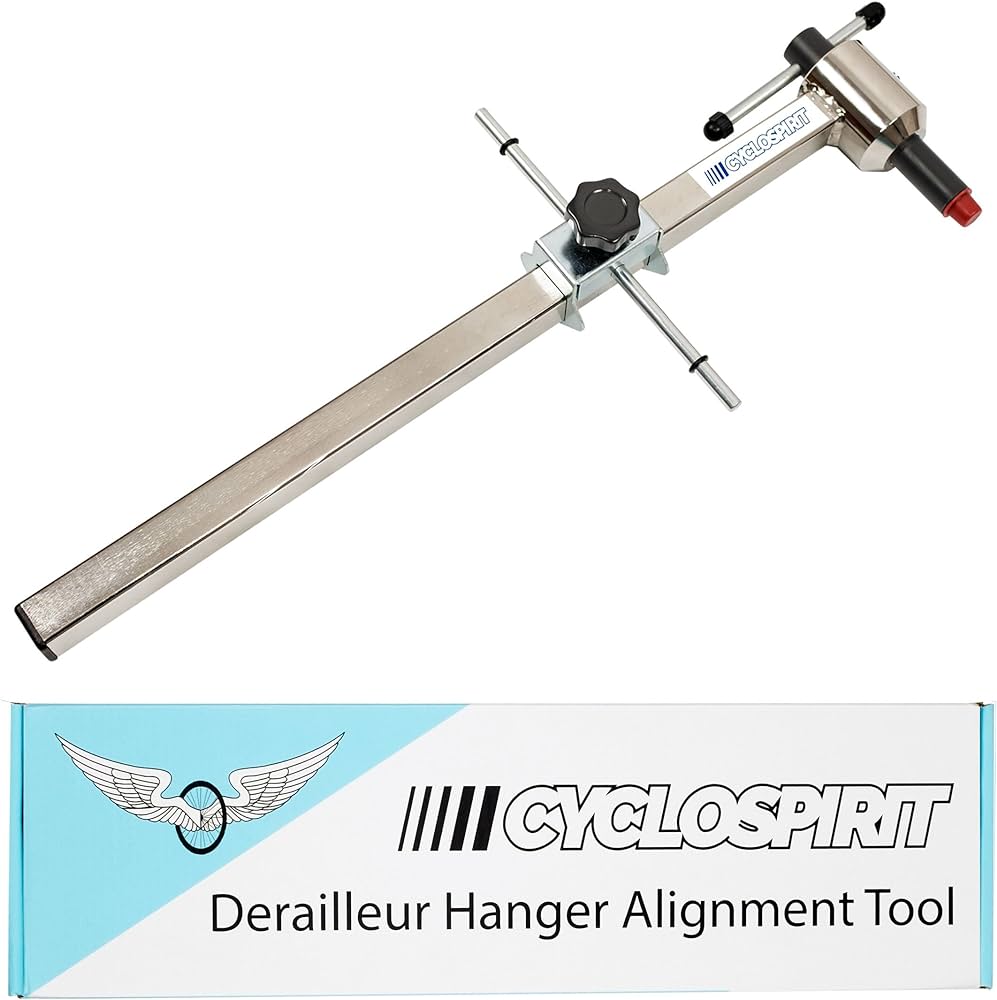
The standalone derailleur hanger alignment tool is a specialized device designed solely for aligning the derailleur hanger. It typically consists of a metal rod that you place in the dropout, a gauge to measure the alignment, and an adjustable arm that allows you to realign the hanger as needed.
One advantage of using a standalone tool is its precision. Since it’s designed specifically for this task, it provides accurate measurements and adjustments. However, it can be pricey and takes up additional space in your toolbox.
Multi-Tool
The multi-tool version combines several functions into one compact design. It usually includes other bike repair tools such as chain breakers, spoke wrenches, and screwdrivers. The derailleur hanger alignment feature may be a bit more basic than a standalone tool, but it gets the job done quickly and efficiently.
A multi-tool is an excellent option if you’re short on storage space or prefer carrying fewer tools with you on rides. However, keep in mind that its versatility comes at the expense of precision.
How to Use a Derailleur Hanger Alignment Tool
Using a derailleur hanger alignment tool requires some care and attention to detail, but it’s not complicated. Here are the steps to follow:
Step 1: Prepare Your Bike
Before starting, make sure your bike is clean and dry. Remove the rear wheel from the frame entirely so that you can access the derailleur hanger.
Step 2: Place the Tool in the Dropout
Insert the metal rod of your alignment tool into the dropout where your wheel axle would go. Make sure it sits snugly against both sides of the dropout.
Step 3: Check Alignment
Use the gauge on your tool to check if your derailleur hanger is aligned correctly. The gauge should sit flat against both sides of your hanger without any wobbling or rocking.
Step 4: Adjust as Needed
If the gauge shows a misalignment, use the adjustable arm on your tool to straighten it out. Make small adjustments and recheck alignment until the gauge shows that your hanger is aligned correctly.
Step 5: Reassemble and Test
Once you’re satisfied with the alignment, reinsert the wheel into the frame, making sure it’s securely fastened. Shift through your gears to ensure they’re working smoothly and without any issues.
Common Mistakes in Derailleur Hanger Alignment
While using a derailleur hanger alignment tool is relatively straightforward, there are some common mistakes that people make that can affect its effectiveness. Here are a few things to avoid:
– Not removing the rear wheel entirely: Trying to align your derailleur hanger while the wheel is still attached can lead to inaccurate readings.
– Using an incorrect tool: If your bike has a non-standard dropout or derailleur hanger, make sure you’re using a compatible tool.
– Over-tightening bolts: Tightening the bolts too much when realigning your hanger can cause damage to your frame or strip the threads.
– Rushing through the process: Take your time when checking and adjusting your derailleur hanger alignment. Rushing can lead to mistakes and ultimately make things worse.
Conclusion
A derailleur hanger alignment tool is an essential piece of equipment for any cyclist who wants to maintain their bike’s performance. Whether you choose a standalone tool or a multi-tool version, remember that precision is key when it comes to this task.
By following our guide on how to use a derailleur hanger alignment tool correctly, you’ll be able to keep your gears shifting smoothly and avoid costly repairs down the road. Happy cycling!
References:
1. “Bicycle Derailleur Hanger Alignment,” Park Tool, accessed September 17, 2021, https://www.parktool.com/blog/repair-help/bicycle-derailleur-hanger-alignment.
2. “How to Use a Derailleur Hanger Alignment Gauge,” REI Co-op, accessed September 17, 2021, https://www.rei.com/learn/expert-advice/how-to-use-a-derailleur-hanger-alignment-gauge.html.