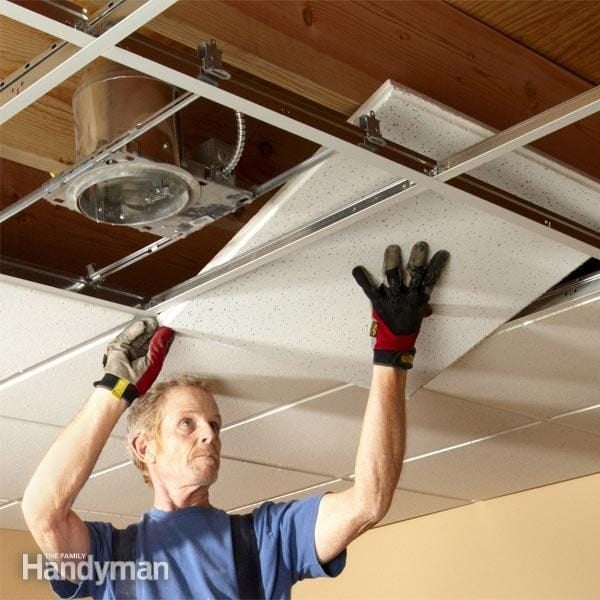
If you’re planning on installing a drop ceiling, having the right tools is crucial to ensure a smooth and efficient process. Whether you’re a seasoned professional or a DIY enthusiast, having the necessary tools at your disposal can make all the difference in achieving a flawless finish. In this comprehensive guide, we’ll take a look at the must-have drop ceiling tools that will help you achieve professional results.
H2: Types of Drop Ceiling Tools
When it comes to installing a drop ceiling, there are various types of tools that you’ll need to have on hand. These include:
1. Measuring Tape – A measuring tape is an essential tool that every DIYer and professional should have in their toolbox. It’s important to take accurate measurements before cutting tiles, ensuring that they fit perfectly into the grid system.
2. Utility Knife – A utility knife is another indispensable tool for cutting tiles to size. Make sure to use a sharp blade to avoid damaging the tiles or creating rough edges.
3. Screwdriver – A screwdriver is needed to secure the cross tees and support wires in place. Opt for a Phillips head screwdriver as it’s compatible with most types of screws used in drop ceiling installations.
4. Grid Punch – A grid punch is used to create holes in the main runners and cross tees where support wires are attached. This tool ensures that the wires fit snugly into place, preventing any sagging or unevenness in the ceiling.
5. Level – A level helps ensure that your installation is even and straight. Use it while installing the main runners and cross tees to ensure they are level before attaching them with screws.
6. Wire Cutters – Wire cutters are essential for trimming excess wire once the support wires are attached to the main runners and cross tees.
7. Safety Gear – Installing a drop ceiling can be hazardous, so it’s essential to wear safety gear such as gloves and goggles. This protects you from any debris that may fall during the installation process.
H2: Tips for Using Drop Ceiling Tools
While having the right tools is essential, knowing how to use them correctly is equally important. Here are some tips to help you get the most out of your drop ceiling tools:
1. Use a Sharp Blade – When cutting tiles, make sure to use a sharp utility knife blade. This will ensure clean cuts and prevent jagged edges that can ruin the appearance of your ceiling.
2. Measure Twice – Always measure twice before making a cut or installing a tile. This will help you avoid mistakes and ensure that everything fits perfectly into place.
3. Check Your Level – Use a level frequently throughout the installation process to ensure that everything is straight and even.
4. Wear Safety Gear – Don’t skimp on safety gear; it’s essential when working with power tools and heavy materials.
5. Take Breaks – Installing a drop ceiling can be physically demanding, so take frequent breaks to avoid fatigue and injury.
H2: Conclusion
Installing a drop ceiling can be challenging, but having the right tools can make all the difference in achieving professional results. By following our guide and using the must-have drop ceiling tools we’ve outlined, you’ll be well on your way to creating an attractive and functional ceiling in no time.
Wiki Reference:
For more information on drop ceilings, check out https://en.wikipedia.org/wiki/Drop_ceiling


