Are you looking for a way to add some sparkle and shine to your crafts? Look no further than a foiling tool! This versatile tool allows you to add foil accents to a wide variety of materials, from paper and cardstock to fabric and leather. In this ultimate guide, we’ll cover everything you need to know about using a foiling tool to create stunning craft projects.
What is a Foiling Tool?
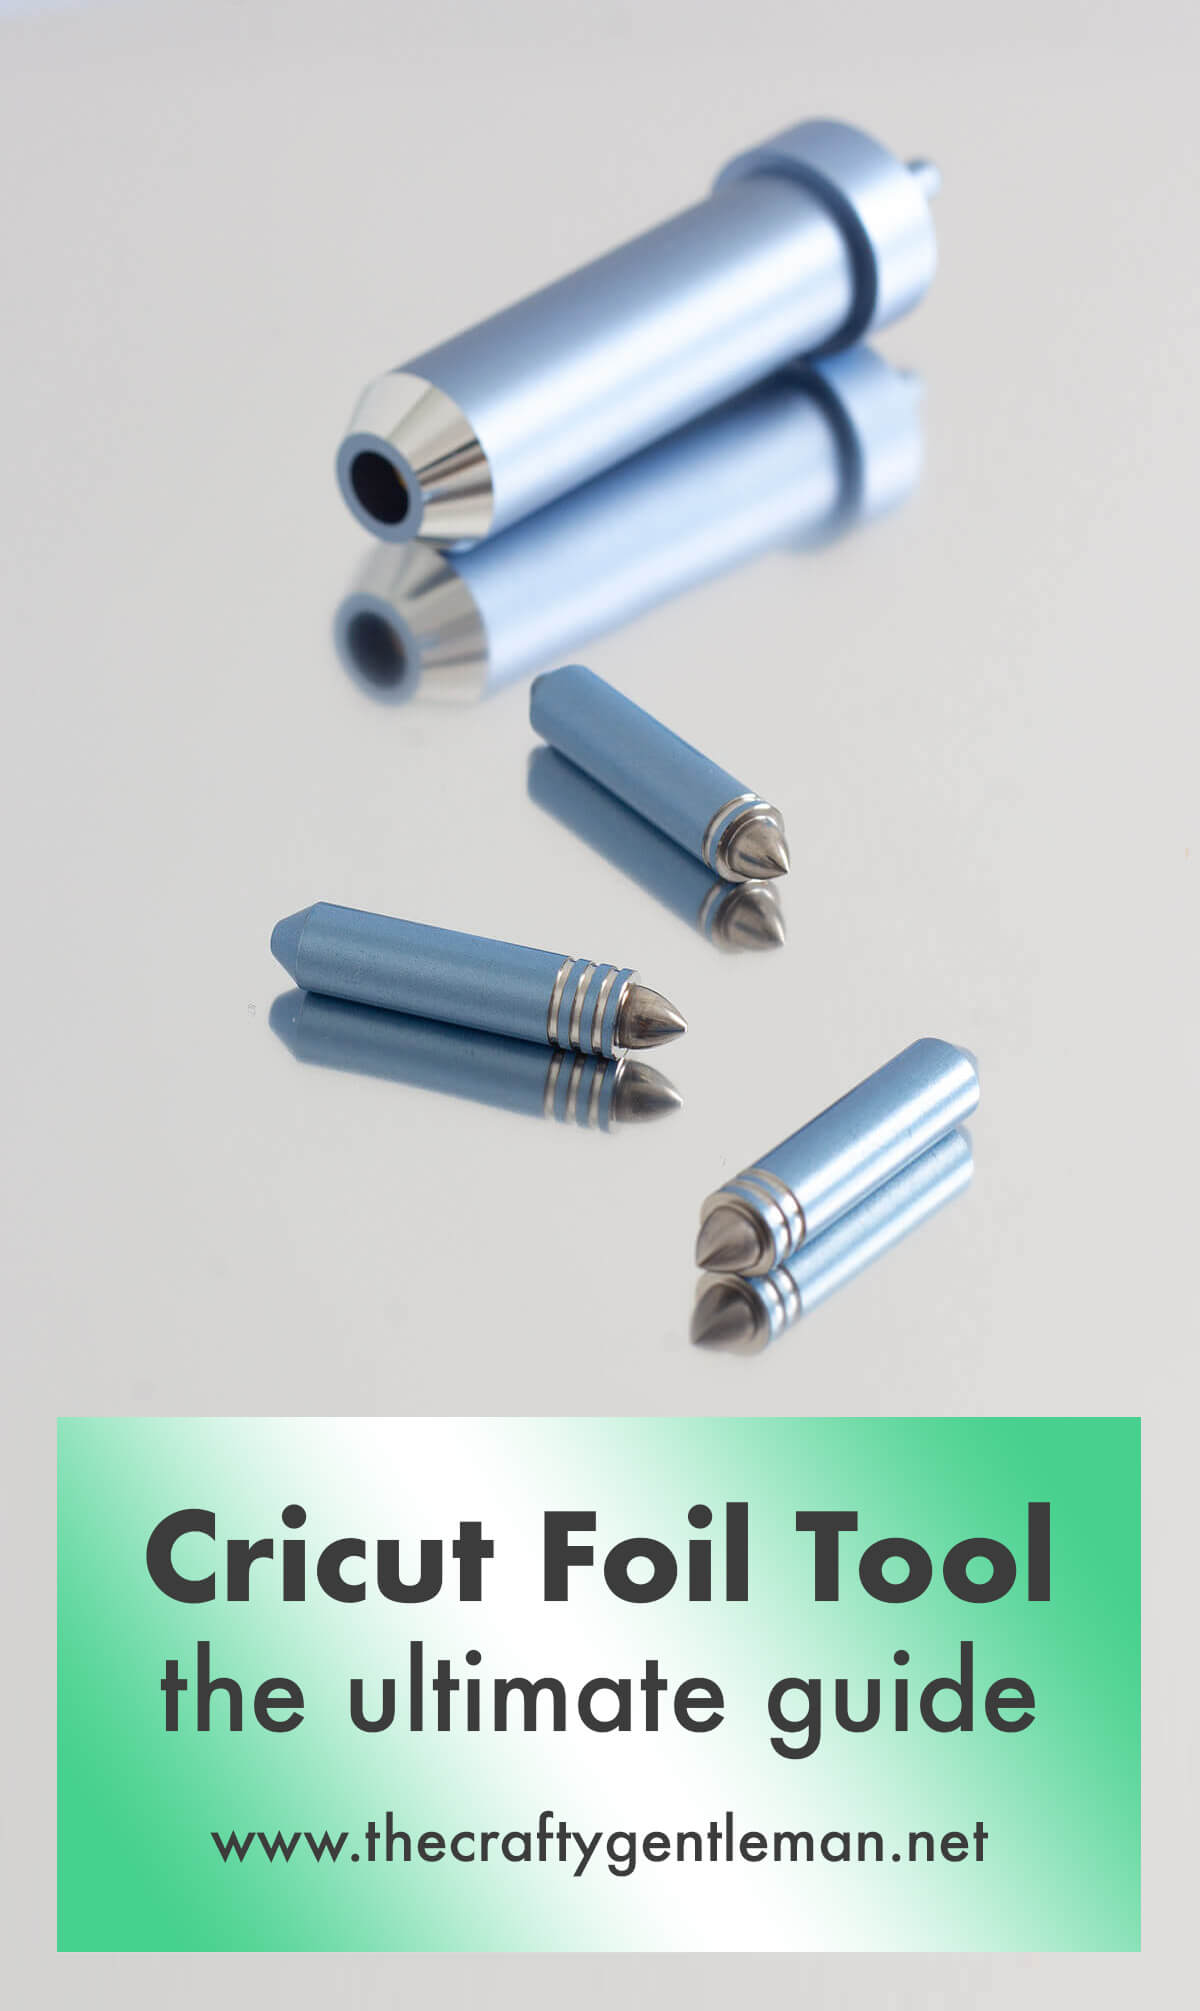
A foiling tool is a handheld device that uses heat and pressure to transfer metallic or holographic foil onto a surface. The tool typically comes with interchangeable tips that allow you to customize the design and size of the foil transfer. Some foiling tools are cordless, while others require an electrical outlet.
How Does a Foiling Tool Work?
To use a foiling tool, first select the tip that matches the size and shape of the design you want to create. Next, place the foil over the area you want to add shine to, with the shiny side facing up. Place the tip of the foiling tool onto the foil, pressing down firmly but gently. Hold the tool in place for several seconds while it heats up. Then, lift the tool away from the foil and peel off the excess material, leaving only the design behind.
Tips for Using a Foiling Tool
1. Choose high-quality foil: The quality of your foil can make a big difference in how well it transfers onto your project. Look for brands that are specifically designed for use with foiling tools, such as Deco Foil or Minc.
2. Practice on scrap paper: Before you start adding foil accents to your final project, practice on scrap paper or cardstock. This will help you get a feel for how much pressure and heat is needed.
3. Experiment with different tips: Most foiling tools come with multiple tips in different shapes and sizes. Try out different tips to see which ones work best for your project.
4. Use a carrier sheet: If you’re working with intricate designs or small pieces of foil, use a carrier sheet to help keep everything in place. Simply lay the carrier sheet over the foil and design, then run it through the foiling tool as usual.
5. Clean your tool regularly: Over time, adhesive residue from the foil can build up on your foiling tool. To keep it working properly, clean it regularly with a damp cloth.
Using a Foiling Tool for Different Crafts
1. Scrapbooking: Foil accents are a great way to add some extra dimension and shine to your scrapbook pages. Use a foiling tool to create custom titles or borders, or add metallic accents to embellishments like stickers and die cuts.
2. Cardmaking: A foiling tool can take your handmade cards to the next level. Create foil accents on the front of your card, or use it to add metallic elements to the inside.
3. Home decor: Whether you’re making a custom piece of wall art or adding some shine to a throw pillow, a foiling tool is a great way to add some personality to your home decor projects.
4. Fashion accessories: Foil transfers can be applied to fabric and leather using a foiling tool, making it easy to customize fashion accessories like purses, jackets, and shoes.
In Conclusion
A foiling tool is an essential addition to any crafter’s toolkit. With its ability to add metallic and holographic accents to almost any surface, it’s no wonder why these tools have become so popular in recent years. By following our tips and experimenting with different techniques, you’ll be able to create stunning projects that sparkle and shine.
References:
– Deco Foil: https://thermoweb.com/collections/deco-foil
– Minc: https://heidiswapp.com/minc-foil-application-machine/
– Foiling Tool Cleaning Tips: https://www.happyjigging.com/2018/08/27/cleaning-foil-quill-tool/