Do you love spending time in the great outdoors? Whether you’re an avid hiker, camper, or survivalist, there’s always a chance that you’ll need to fix something while you’re out in the wilderness. Unfortunately, it’s not always easy to find the right tools for the job when you’re miles away from civilization. That’s why it’s important to know how to make a repair tool in the forest.
In this article, we’ll guide you through the process of making your own simple repair tools using natural materials found in the forest. From repairing a tent pole to fixing a broken fishing rod, we’ve got you covered. So grab your hiking boots and let’s get started!
Why Make Your Own Repair Tools?
Before we dive into the nitty-gritty of crafting your own repair tools, let’s discuss why it’s worth taking the time and effort to do so.
Firstly, making your own repair tools can be a fun and rewarding experience. It allows you to tap into your creativity and problem-solving skills while enjoying the beauty of nature.
Secondly, if you’re far away from civilization, it may be impossible to find replacement parts or tools for your gear. By knowing how to make your own repairs, you can ensure that you won’t be left stranded without vital equipment.
Lastly, making your own repair tools is eco-friendly and sustainable. Instead of relying on disposable items or creating waste by discarding broken equipment, you can extend the lifespan of your gear by repairing it with natural materials.
Now that we’ve covered why it’s important to know how to make your own repair tools let’s move onto the actual process.
Materials You Will Need
To make your own repair tools in the forest, you’ll need some basic materials. Here are some items that are useful for crafting simple repair tools:
– A sturdy knife or multi-tool
– Duct tape or other adhesive
– Cordage (such as paracord)
– Natural materials found in the forest, such as sticks, bark, and leaves
Depending on the specific repair you need to make, you may also require other materials. For example, if you’re repairing a fishing rod, you’ll need some fishing line.
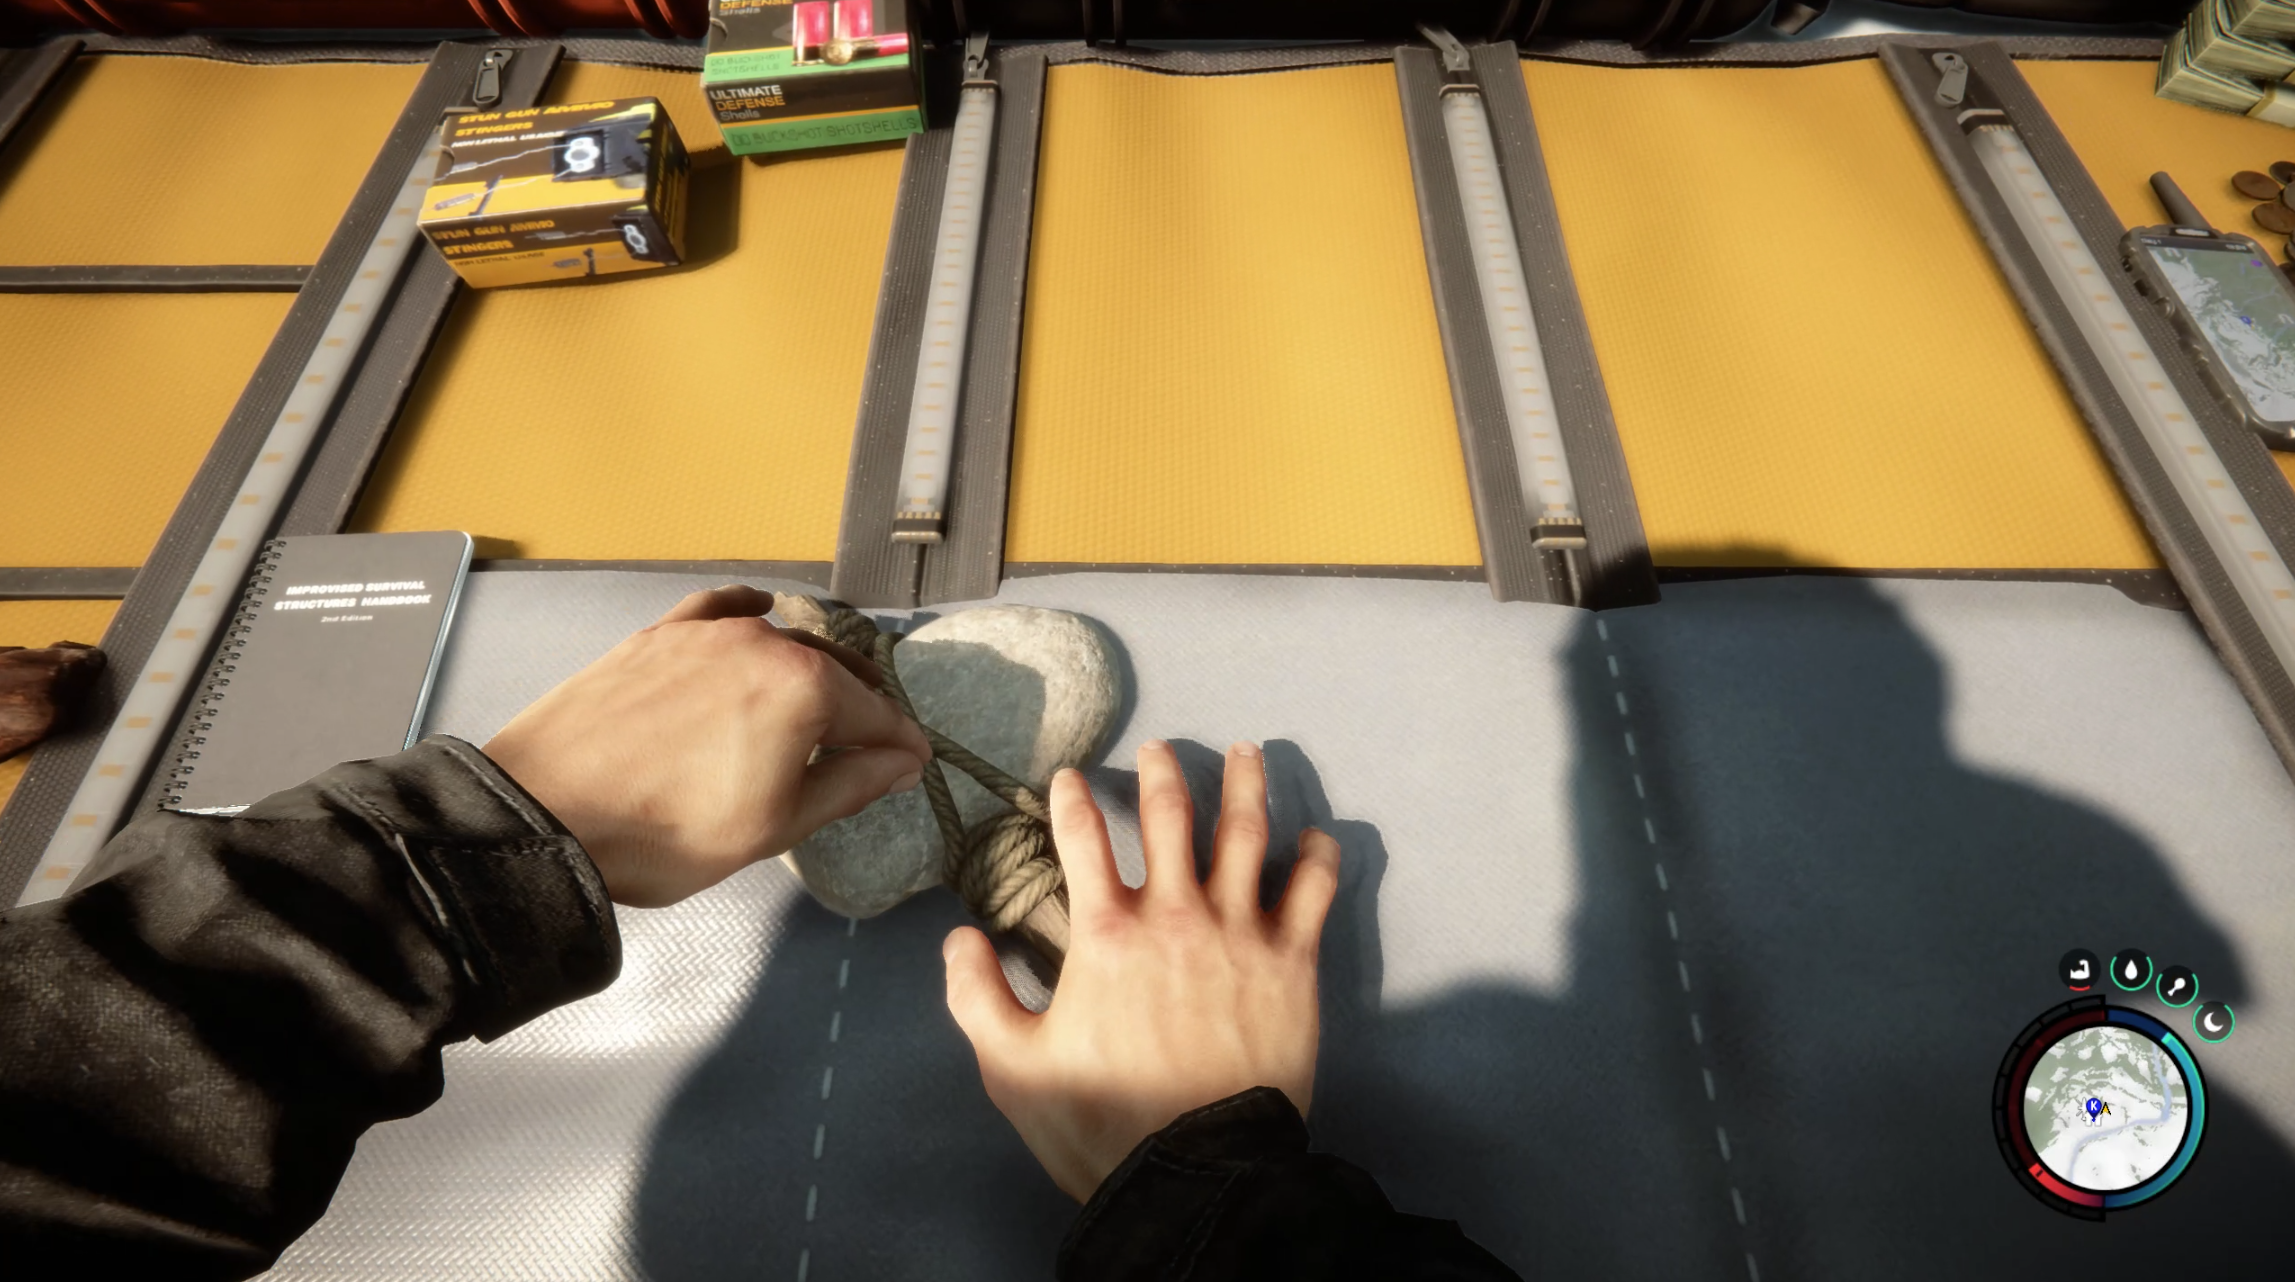
Crafting Simple Repair Tools
Now that we have our materials ready let’s move onto crafting simple repair tools using natural materials found in the forest.
1. Tent Pole Repair
If your tent pole breaks while you’re camping, don’t worry! You can easily fix it with some natural materials.
Materials Needed:
– A long stick
– Duct tape
Instructions:
1) Find a long and sturdy stick that’s roughly the same size as your broken tent pole.
2) Remove any branches or knots from the stick.
3) Use duct tape to attach the broken tent pole to the stick.
4) Securely wrap duct tape around both poles until they are tightly joined together.
5) Voila! Your tent pole is now repaired.
2. Fishing Rod Repair
If your fishing rod snaps while you’re out on the water, don’t fret. With a few simple materials found in the forest, you can fashion a makeshift repair tool and be back to catching fish in no time.
Materials Needed:
– A sturdy stick
– Fishing line
– Small hooks or lures
– Cordage (such as paracord)
Instructions:
1) Find a sturdy stick that’s roughly the same length and thickness as your broken fishing rod.
2) Strip off any bark or rough spots from the stick using your knife or multi-tool.
3) Tie one end of your fishing line onto the end of the stick using cordage.
4) Thread your small hook or lure onto the fishing line and tie it securely.
5) Continue threading the fishing line through the guides on your makeshift repair tool until you reach the end of the stick.
6) Tie the other end of the fishing line to a tree or other sturdy object to create tension.
7) You’re now ready to fish with your makeshift repair tool.
3. Hammock or Backpack Strap Repair
If one of the straps on your hammock or backpack breaks, you can easily fix it using some natural materials found in the forest.
Materials Needed:
– A long and sturdy stick
– Cordage (such as paracord)
Instructions:
1) Find a long and sturdy stick that’s roughly the same length as your broken strap.
2) Place one end of the stick under the remaining strap.
3) Use cordage to tie the remaining strap tightly around both ends of the stick.
4) Repeat this process for the other side of the strap using another stick.
5) Your hammock or backpack is now securely repaired.
Conclusion
Making your own repair tools in the forest isn’t just a useful skill; it’s also a fun and rewarding experience. By using natural materials found in nature, you can fashion simple repairs for your gear while enjoying all that the great outdoors has to offer.
Remember, it’s always important to leave no trace when you’re out in nature. Make sure to dispose of any waste properly and respect the environment around you.
We hope this guide has been helpful in teaching you how to make simple repair tools in the forest. If you have any questions or comments, feel free to leave them below!
References:
– “Leave No Trace.” Leave No Trace Center for Outdoor Ethics, www.lnt.org/.