Are you tired of struggling with your Moen aerator and trying to figure out how to remove it without any tools? Don’t worry, we’ve got you covered! In this ultimate guide, we will show you step-by-step instructions on how to remove Moen aerator without tool. You won’t need any special equipment or skills, just a few household items and some patience.
[h2] Why Remove Moen Aerator? [/h2]
Before we dive into the steps on how to remove Moen aerator without tool, let’s first understand why you would want to remove it in the first place. Moen aerators are small devices that attach to the end of your faucet spout. They are designed to reduce water flow and save water consumption. However, over time, they can become clogged with sediment or debris, which can reduce the water pressure and cause water splashing.
Removing the aerator allows you to clean it thoroughly or replace it altogether. This ensures that your faucet is working efficiently and providing sufficient water pressure.
[h2] Step-by-Step Instructions on How to Remove Moen Aerator Without Tool [/h2]
Now that you know why you might need to remove your Moen aerator, let’s move onto the process itself. Follow these simple steps:
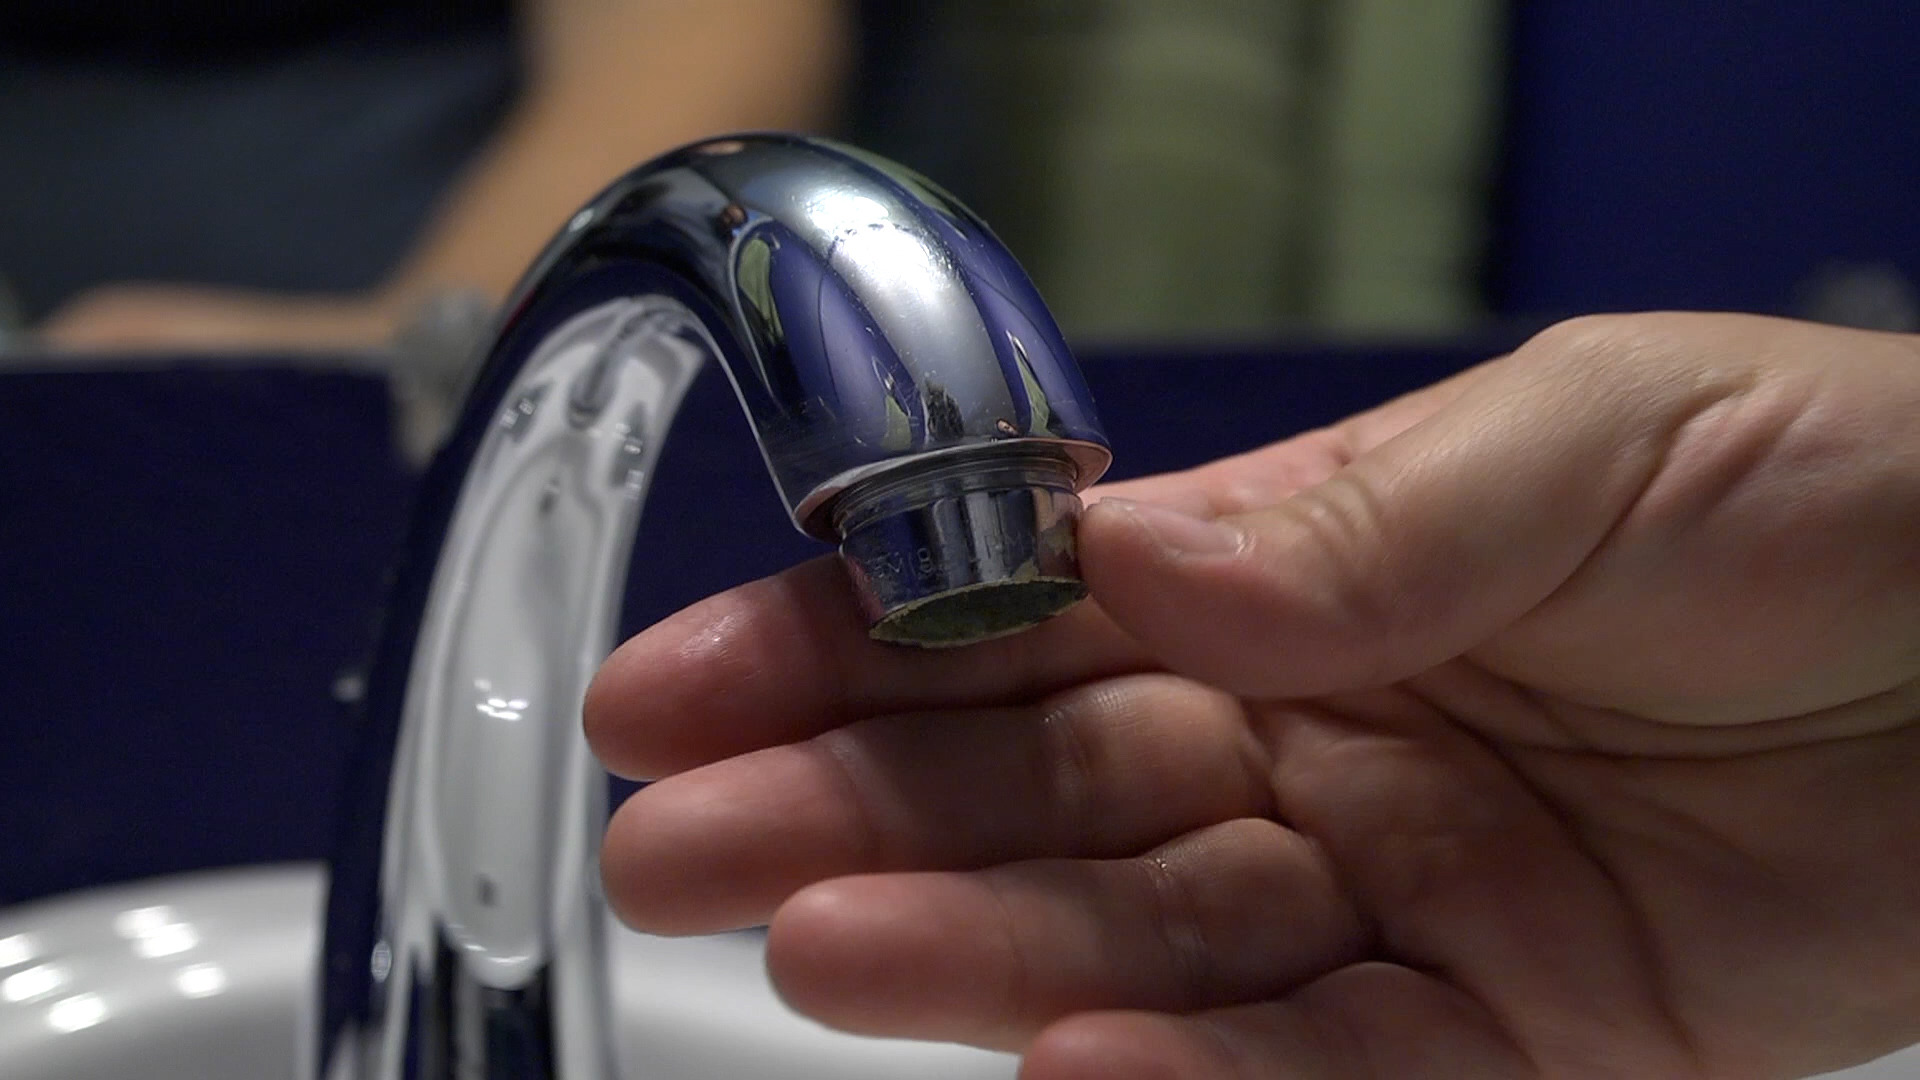
1. Find the aerator – Look for a small round object at the end of your faucet spout. This is usually silver or chrome in color and has small holes on its surface.
2. Prepare a cloth – To avoid scratching your faucet or damaging the aerator, wrap a cloth around the aerator before proceeding.
3. Use pliers – If you have pliers available, grip the aerator firmly with them and turn counterclockwise until it loosens.
4. Use tape – If you don’t have pliers, you can use tape instead. Wrap the tape around the aerator’s edge and turn it counterclockwise with your fingers until it loosens.
5. Unscrew the aerator – Once the aerator is loose, unscrew it the rest of the way by hand and remove it.
[h2] Tips for Removing Moen Aerator Without Tool [/h2]
While removing Moen aerator without tool is a simple process, there are some tips that can make it even easier:
1. Use vinegar – If your aerator is clogged with debris or sediment, soak it in vinegar for at least 30 minutes before attempting to remove it. This will loosen any buildup and make it easier to unscrew.
2. Be gentle – When using pliers or tape, be careful not to apply too much force as this can damage your faucet or aerator.
3. Use a rubber band – If you don’t have tape available, you can use a rubber band instead. Place the rubber band over the aerator’s edge and turn it counterclockwise with your fingers until it loosens.
4. Check the size – Not all Moen aerators are created equal. Make sure to check the size of your aerator before purchasing a replacement so that you get the right fit.
[h2] Conclusion [/h2]
Removing Moen aerator without tool is easy and straightforward once you know how to do it. By following our step-by-step instructions and tips, you’ll be able to clean or replace your aerator in no time. Remember to be gentle when using pliers or tape, and always double-check the size of your replacement aerator before purchasing.
If you still encounter any problems while trying to remove your Moen aerator without tool, don’t hesitate to call a professional plumber for assistance.
[h2] Wiki Reference: [/h2]
For more information on Moen aerators and faucets, visit the official Moen website at https://www.moen.com/.