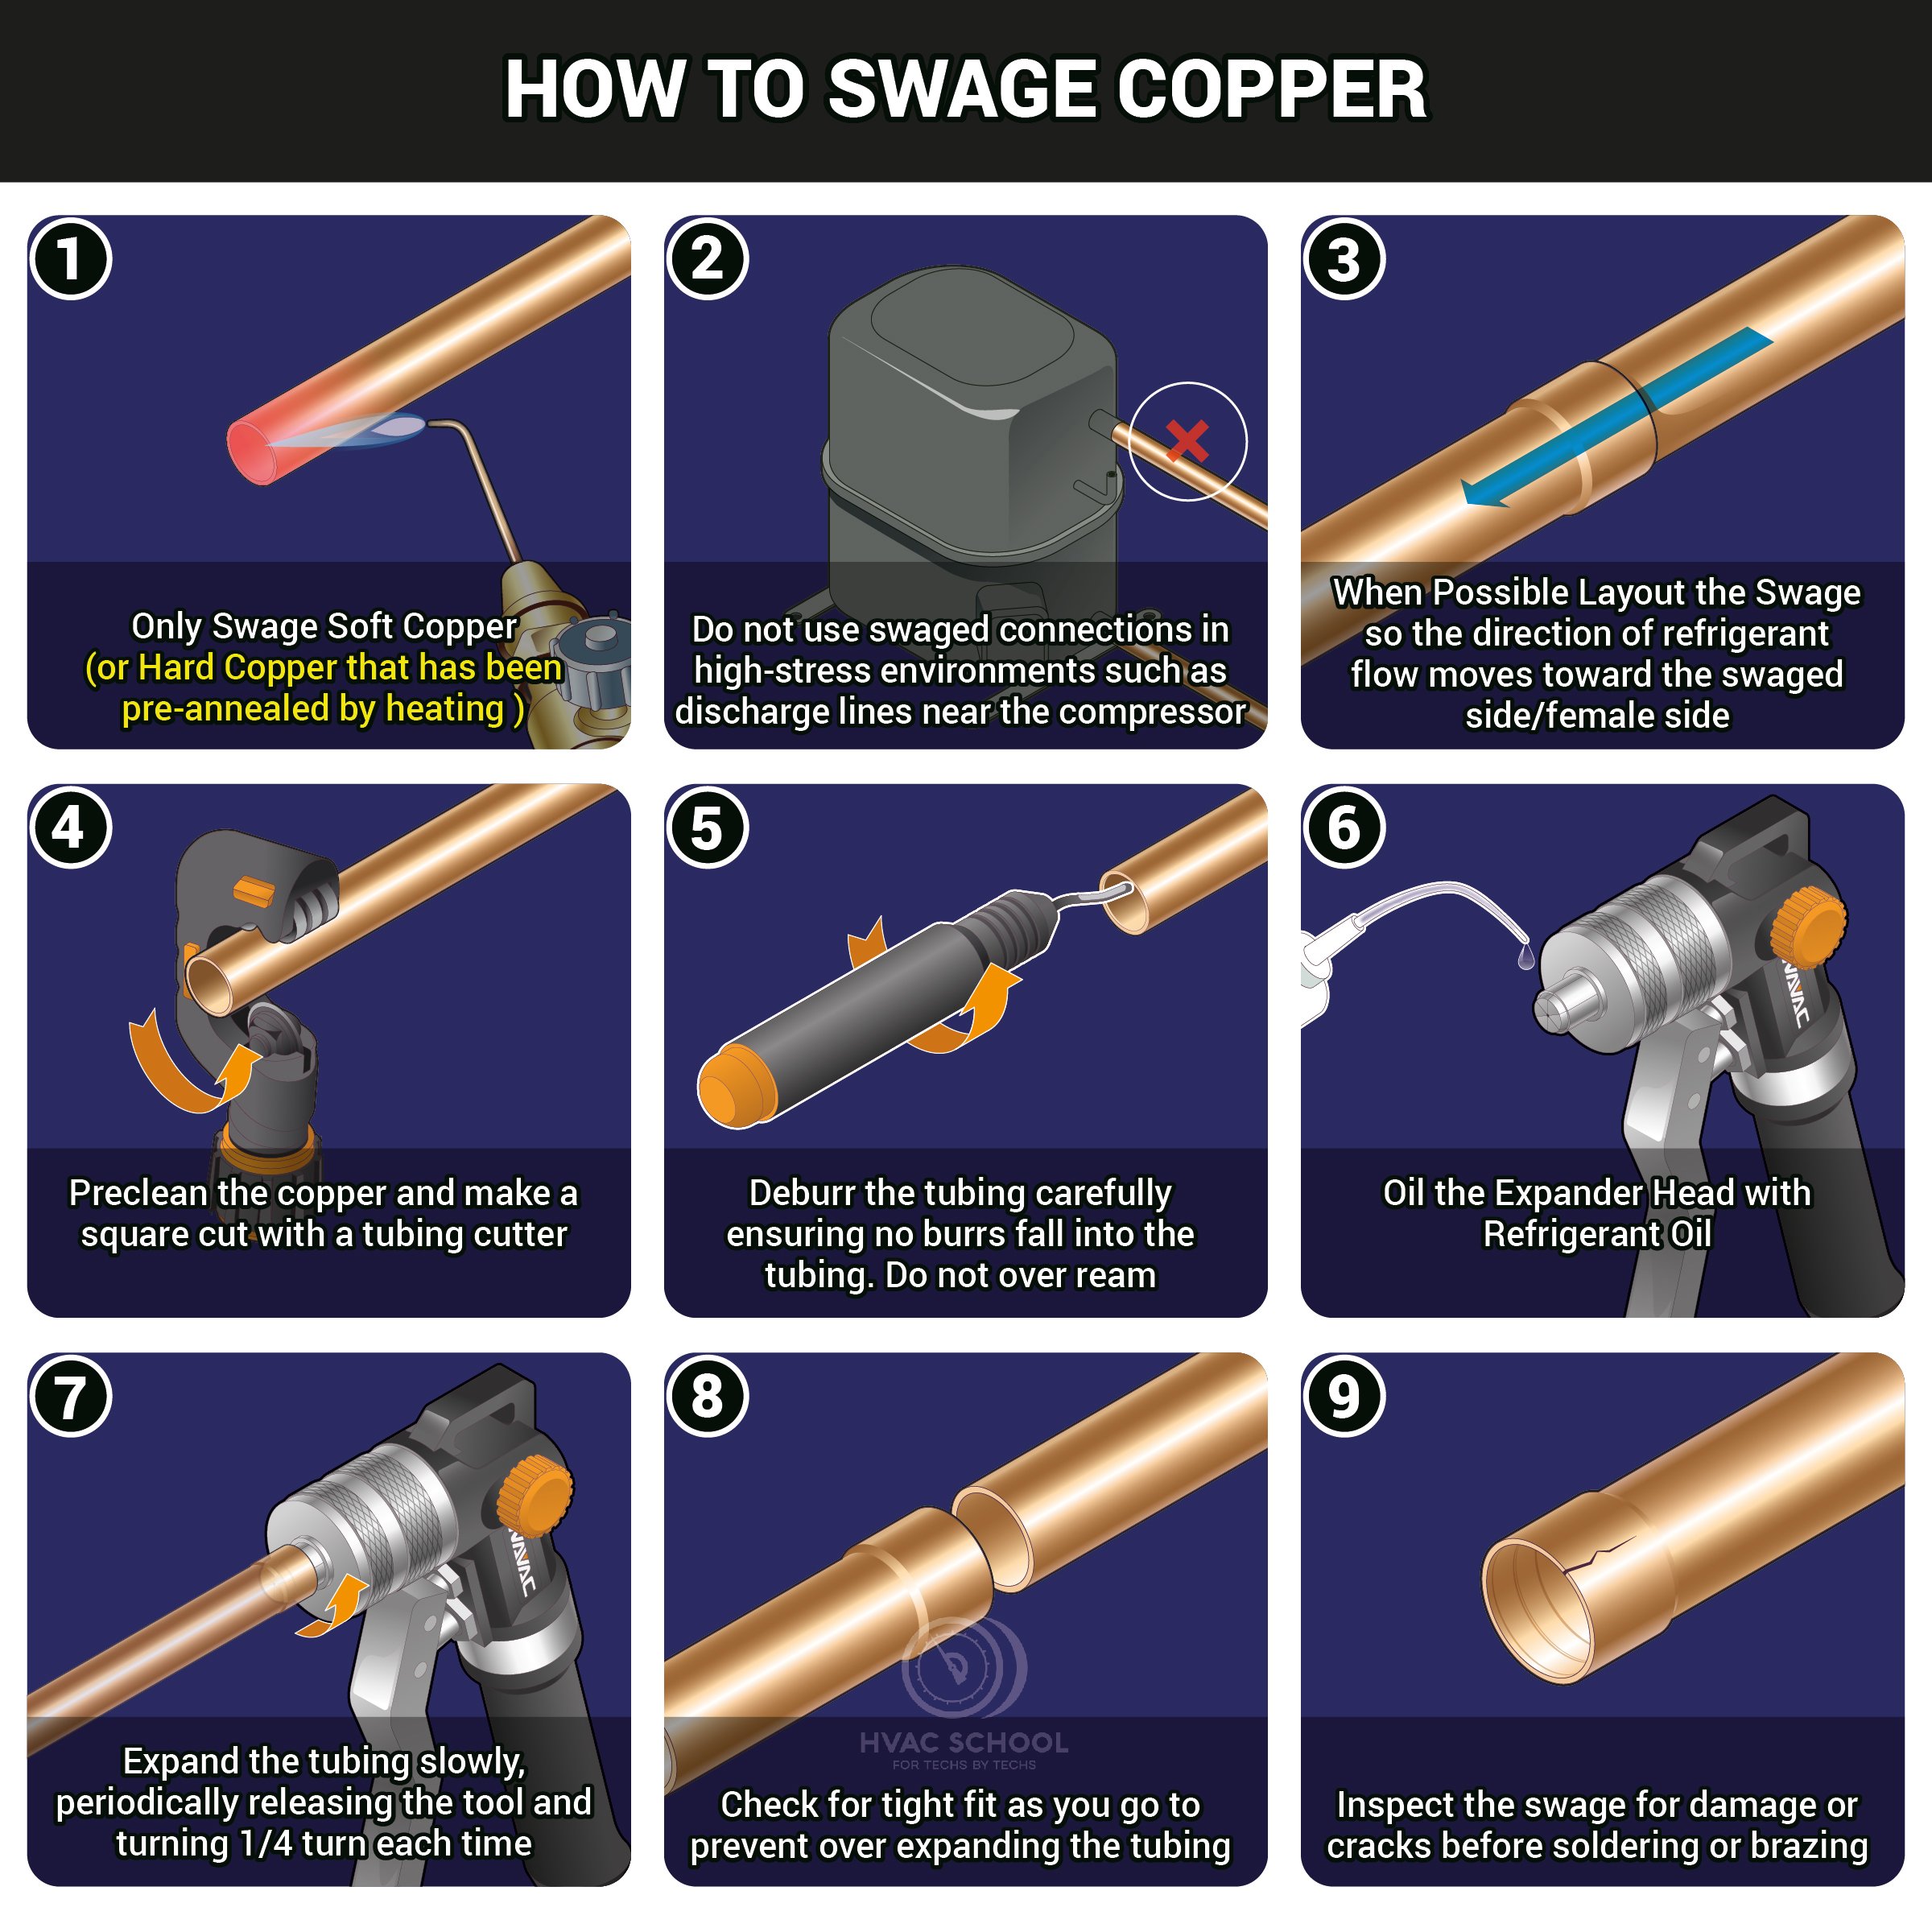
If you’re new to the world of metalworking or DIY projects, you may be wondering how to use a swaging tool. This versatile tool can help you create everything from decorative metal pieces to custom wire rope assemblies. In this article, we’ll cover the basics of using a swaging tool and share some tips and tricks that will help you get started.
What is a Swaging Tool?
A swaging tool is a handheld device that is used to compress and shape metal or wire rope. The tool consists of two parts: the swage die, which is fixed in place, and the hammer, which is used to strike the die and compress the metal or wire rope. There are many different types of swaging tools available, including hand-held tools, bench-mounted tools, and hydraulic tools.
Before You Begin
Before you start using your swaging tool, it’s important to make sure that you have all of the necessary materials and equipment. Here’s what you’ll need:
– A swaging tool
– Swage dies (make sure they are compatible with your tool)
– Metal or wire rope (choose the appropriate size for your project)
– Safety equipment (gloves, eye protection)
Once you have everything you need, it’s time to get started.
Step-by-Step Guide: How to Use a Swaging Tool
1. Choose the right size die for your project. Swage dies come in a variety of sizes and shapes, so it’s important to choose the right one for your project. Make sure that the die matches the size of your metal or wire rope.
2. Insert the die into your swaging tool. Most swage dies are designed to fit into specific types of tools, so make sure that your die is compatible with your tool before inserting it.
3. Place your metal or wire rope into the swage die. Make sure that the metal or wire rope is centered in the die and that it is flush with the top of the die.
4. Use your hammer to strike the top of the swage die. Strike the die with enough force to compress the metal or wire rope, but be careful not to hit it too hard and damage your tool or the die.
5. Remove the metal or wire rope from the swage die. Check to make sure that it has been compressed evenly and that there are no gaps or deformations.
6. Repeat steps 3-5 as needed until you have achieved the desired shape and size for your project.
Tips and Tricks for Using a Swaging Tool
1. Practice on scrap materials first. If you’re new to using a swaging tool, it’s a good idea to practice on scrap materials before starting your actual project. This will give you a chance to get familiar with your tool and experiment with different techniques.
2. Use a lubricant. Adding a small amount of oil or grease to your swage dies can help reduce friction and make it easier to compress your metal or wire rope.
3. Keep your swage dies clean and in good condition. Dirty or damaged dies can affect the quality of your swages, so make sure to clean them regularly and replace them if they become worn or damaged.
4. Be patient. Swaging can be a slow process, especially if you’re working with thicker metals or larger wire ropes. Take your time and don’t rush the process – this will help ensure that you achieve high-quality results.
Conclusion
Using a swaging tool may seem intimidating at first, but with a little practice and patience, anyone can learn how to create professional-looking metal pieces and wire rope assemblies. By following these tips and tricks, you’ll be well on your way to mastering this versatile tool.
Wiki Reference:
https://en.wikipedia.org/wiki/Swage


