Are you tired of struggling with your Kohler faucet’s aerator? Do you want a solution that won’t damage your plumbing fixtures? Look no further than the Kohler aerator removal tool!
In this comprehensive guide, we’ll cover everything you need to know about removing your Kohler aerator with ease. From understanding what an aerator is and why it’s important to knowing how to properly use the tool, we’ve got you covered.
So, let’s dive in and discover how to solve your plumbing problems once and for all!
What is a Kohler Faucet Aerator?
Before we dive into the details of the removal process, it’s important to understand what a Kohler faucet aerator is and why it matters.
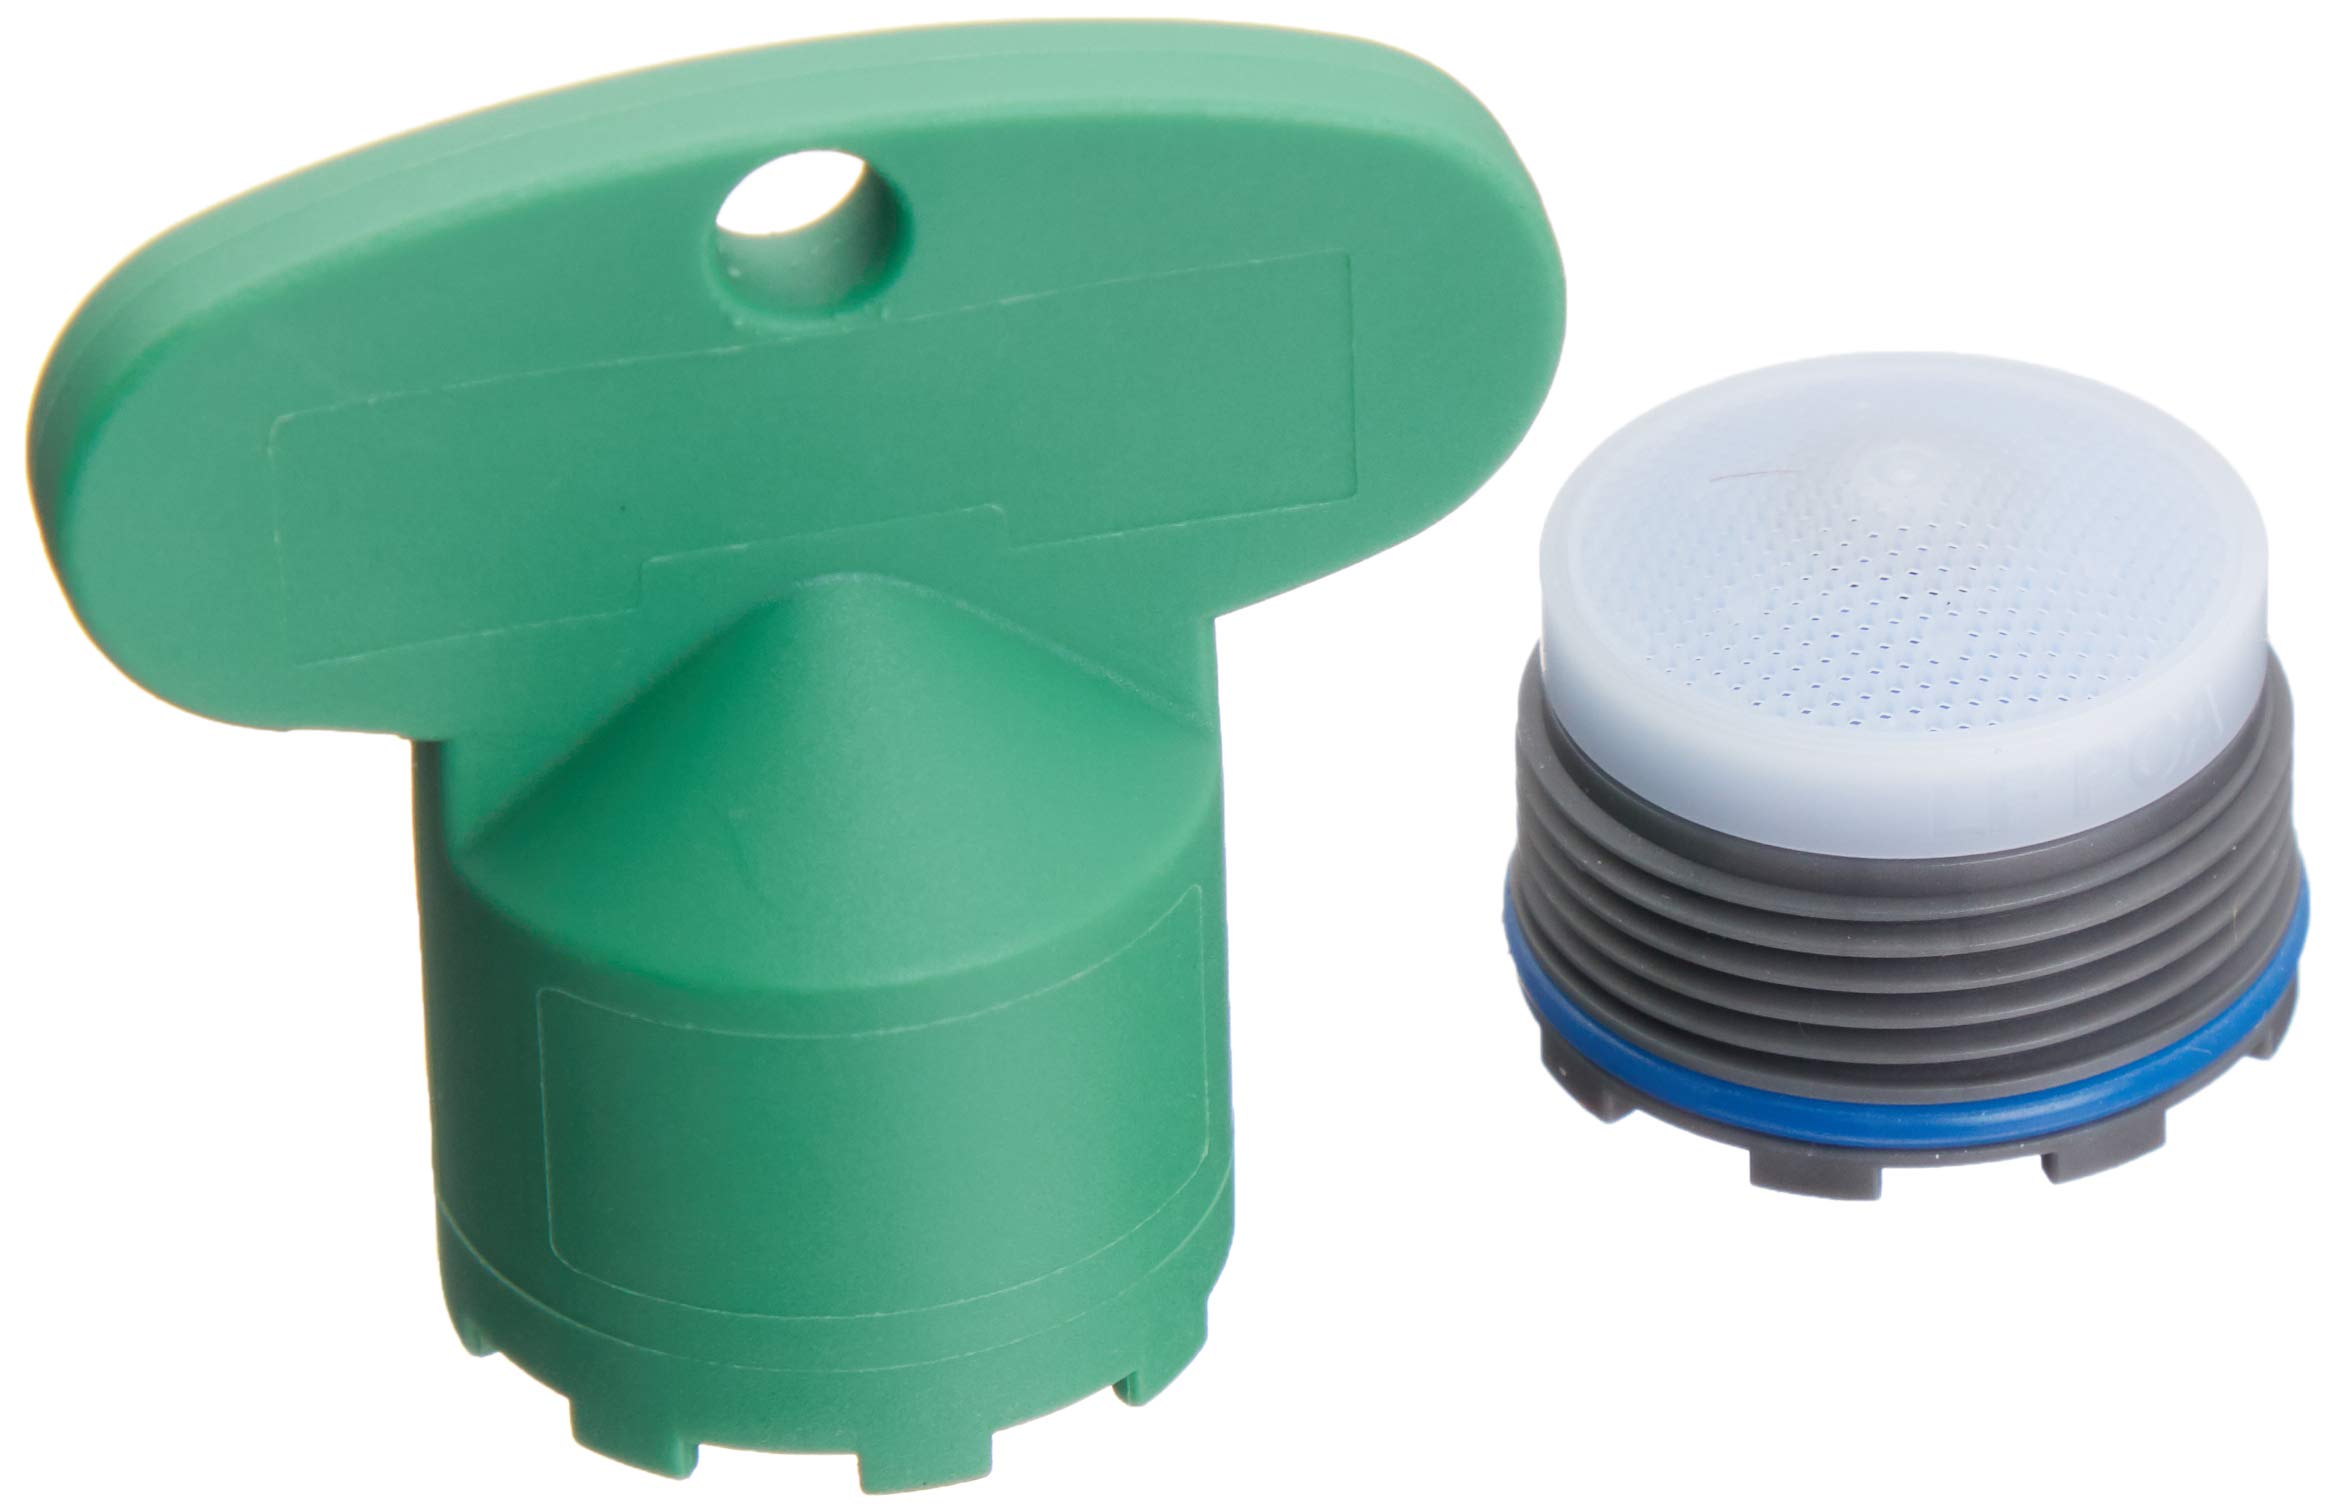
An aerator is a small device that screws onto the end of your faucet spout. It helps regulate the flow of water by mixing air into the stream. This not only saves water but also reduces splashing and noise.
Over time, however, debris can build up inside the aerator, causing reduced water flow or uneven spray patterns. This is where the Kohler aerator removal tool comes in handy.
Why Use a Kohler Aerator Removal Tool?
While there are other methods for removing an aerator, such as pliers or wrenches, these options can damage your fixtures. Pliers can leave scratches or dents on the metal while wrenches can warp the shape of the spout.
The Kohler aerator removal tool is specifically designed to fit snugly over your aerator without damaging anything else. It provides a secure grip that allows you to twist off the aerator with ease.
How to Use a Kohler Aerator Removal Tool
Now that you understand why a Kohler aerator removal tool is necessary let’s go through the steps on how to use it.
Step 1: Turn Off the Water Supply
Before you begin, turn off the water supply to your faucet. This will prevent any accidental leaks or sprays while you’re working on the aerator.
Step 2: Remove the Aerator Cap
Using your fingers, gently twist and pull off the aerator cap. If it’s too tight, use a cloth or rubber grip pad for extra grip.
Step 3: Insert the Removal Tool
Take your Kohler aerator removal tool and insert it into the center of the exposed aerator. Make sure it’s snugly fitted in place.
Step 4: Twist and Remove
Using the removal tool as a handle, twist it counterclockwise to loosen the aerator from its threads. Once it’s loose enough, continue twisting until you can remove it by hand.
Step 5: Clean and Reinstall
Once you’ve removed the aerator, clean it thoroughly with soap and water to remove any debris buildup. Then, reinstall it by screwing it back onto the spout in a clockwise direction.
Congratulations! You’ve successfully removed and cleaned your Kohler faucet aerator without causing any damage to your plumbing fixtures.
Final Thoughts
In conclusion, if you’re looking for an easy and safe way to remove your Kohler faucet’s aerator, look no further than the Kohler aerator removal tool. With this handy device, you can quickly solve any plumbing problems caused by debris buildup in your aerator.
Remember to always turn off your water supply before attempting to remove anything from your faucet. And don’t forget to clean and reinstall your aerator after removing it!
For more information on Kohler faucets or other plumbing solutions, check out our wiki reference below:
– Kohler Wiki Reference
– American Standard Plumbing Solutions
– Moen Plumbing Tips