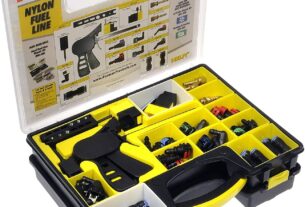
Are you tired of struggling with flaring copper tubes for mini split installations? Look no further than the mini split flare tool! This handy tool can make your job easier and more efficient. In this guide, we’ll cover everything you need to know about choosing and using a mini split flare tool.
What is a Mini Split Flare Tool?
A mini split flare tool is a specialized tool used to create flares in copper tubing. It’s commonly used in HVAC applications, specifically for installing mini split air conditioning systems. The tool creates a precise flare that allows for a tight seal between the copper tubing and the fittings.
Types of Mini Split Flare Tools
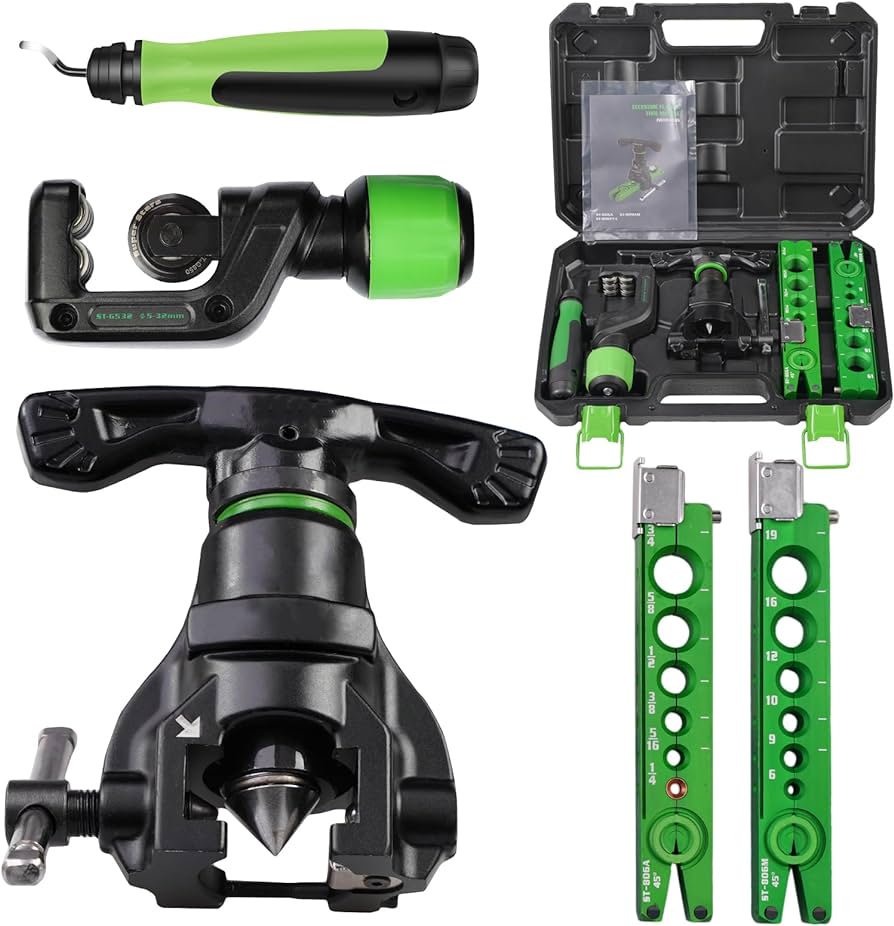
There are two main types of mini split flare tools: manual and hydraulic. Manual tools require physical force to create the flare, while hydraulic tools use hydraulic pressure to create the flare. Here’s a closer look at each type:
Manual Mini Split Flare Tools
Manual flare tools are the most basic type of flare tool. They’re typically less expensive than hydraulic tools and don’t require any additional equipment or power source. However, they can be more difficult to use, especially if you’re not used to creating flares manually.
Hydraulic Mini Split Flare Tools
Hydraulic flare tools use hydraulic pressure to create flares quickly and easily. They typically require an external power source, such as a compressor or battery pack. Hydraulic tools are generally more expensive than manual tools, but they can be faster and more efficient.
Choosing the Right Mini Split Flare Tool
When choosing a mini split flare tool, there are several factors to consider:
Size: Make sure you choose a tool that’s compatible with the size of copper tubing you’ll be working with.
Type: Decide whether you want a manual or hydraulic tool based on your budget and preferences.
Brand: Look for reputable brands that offer quality tools and good customer support.
Price: Consider your budget, but don’t skimp on quality. A high-quality tool can save you time and money in the long run.
Using a Mini Split Flare Tool
Now that you’ve chosen the right mini split flare tool, it’s time to put it to use! Here are the basic steps for using a manual flare tool:
1. Cut the copper tubing to the desired length.
2. Deburr the end of the tubing with a deburring tool.
3. Insert the tubing into the flare tool and tighten it securely.
4. Use the handle to create the flare.
5. Check the flare for any leaks or imperfections.
Hydraulic flare tools typically have similar steps, but they may be faster and require less physical effort.
Tips for Using a Mini Split Flare Tool
Here are some additional tips for using a mini split flare tool like a pro:
– Practice on scrap copper tubing before working on actual installations.
– Make sure your tubing is straight and free from bends or kinks before flaring.
– Use proper safety equipment, such as gloves and eye protection.
– Follow manufacturer instructions carefully.
– Test all flares for leaks before installing them in an actual system.
Conclusion
A mini split flare tool can make your job as an HVAC installer easier and more efficient. By choosing the right tool and following best practices for its use, you can create precise flares that will last for years to come. When in doubt, consult manufacturer instructions or seek advice from other professionals in your field.
References:
https://en.wikipedia.org/wiki/Flaring_tool
https://www.hvacrschool.com/the-right-way-to-flare-copper-piping/
https://www.lennoxpros.com/news/how-to-use-a-mini-split-flare-tool-3228