If you are a passionate needlepoint enthusiast, you know how challenging it can be to lay threads neatly and precisely. The solution to this problem is a needlepoint laying tool, a simple yet essential accessory that every stitcher should have in their toolkit. In this article, we will explore the benefits of using a needlepoint laying tool, how to use it effectively, and some tips on choosing the right one.
What is a Needlepoint Laying Tool?
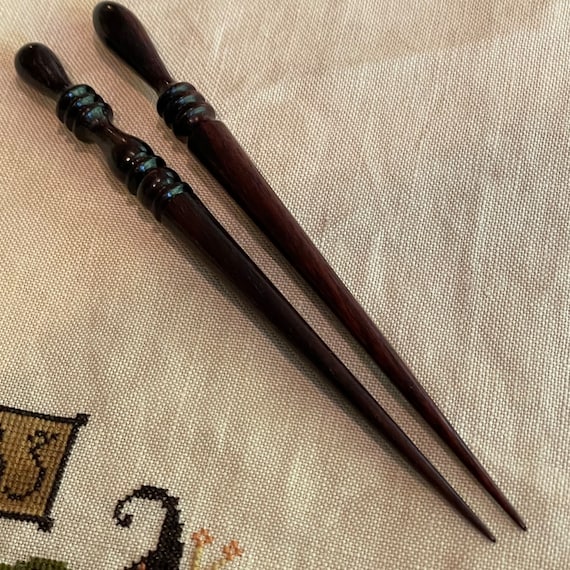
A needlepoint laying tool is a small instrument used to guide and hold threads flat while stitching. It is typically made of metal or wood and has a pointed end that is inserted into the canvas next to the thread being laid. The other end of the tool has a flattened surface that is used to press down on the thread, ensuring it lays flat and smooth.
Benefits of Using a Needlepoint Laying Tool
Using a needlepoint laying tool offers several benefits to needlepoint enthusiasts:
1. Improved Stitch Quality – By holding the thread flat against the canvas with the laying tool, you can achieve more even stitches with fewer irregularities.
2. Increased Precision – A needlepoint laying tool allows you to control the angle at which the thread lies, resulting in more precise stitches.
3. Faster Stitching – With a laying tool, you can work more quickly because you don’t need to pause as often to adjust your threads.
4. Reduced Hand Fatigue – Using a laying tool reduces hand fatigue because you don’t need to grip your threads as tightly while stitching.
How to Use a Needlepoint Laying Tool
Using a laying tool is easy once you get the hang of it. Here’s how:
1. Insert the pointed end of the tool into the canvas next to the thread being laid.
2. Hold the thread taut with your non-dominant hand and use the laying tool to press down on the thread, holding it flat against the canvas.
3. With your dominant hand, bring the needle up through the canvas from underneath and pull the thread through.
4. Repeat steps 2-3 for each stitch, adjusting the angle of the thread as necessary to achieve your desired effect.
Choosing a Needlepoint Laying Tool
When choosing a needlepoint laying tool, consider the following factors:
1. Material – Laying tools are typically made of metal or wood. Metal tools tend to be more durable, while wooden tools can provide a softer touch.
2. Size – The size of your laying tool should be proportional to the size of your canvas and threads. A larger tool may be needed for thicker threads or larger canvases.
3. Shape – Some laying tools have a flattened end, while others have a hook-shaped end that is designed to hold threads more securely.
4. Design – Some laying tools are plain and functional, while others are decorative and ornate. Choose one that suits your personal style and preferences.
Conclusion
A needlepoint laying tool is an essential accessory for any needlepoint enthusiast who wants to achieve high-quality, precise stitches. By using a laying tool, you can improve your stitching speed, accuracy, and overall satisfaction with your finished product. When choosing a laying tool, consider factors such as material, size, shape, and design to find the perfect one for you.
References:
1. “Needlepoint Laying Tools,” Needlepointers.com.
2. “Using a Needlepoint Laying Tool,” Stitching Tips.
3. “How to Choose a Needlepoint Laying Tool,” The Spruce Crafts.
4. “Laying Tools,” Nordic Needle.
5. “Needlepoint,” Wikipedia.org.