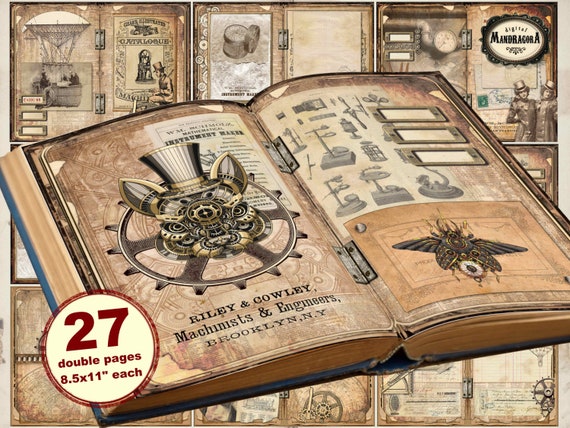
Are you a fan of all things industrial and vintage? Do you love the idea of blending Victorian-era aesthetics with modern technology? Then steampunk may be the perfect style for you! And what better way to embrace this unique aesthetic than by creating your own steampunk tools?
In this article, we’ll explore the world of steampunk and show you how to create your own one-of-a-kind tools that will make you the envy of all your friends. From goggles to ray guns, we’ve got you covered.
So grab your top hat and let’s get started!
What is Steampunk?
Before we dive into creating our own steampunk tools, let’s take a moment to define what exactly steampunk is. At its core, steampunk is a subculture that blends elements of science fiction, fantasy, and Victorian-era fashion and design.
Think gears, brass, leather, and corsets mixed with steam-powered machinery, airships, and clockwork automatons. It’s a genre that celebrates innovation and imagination while harkening back to a time when craftsmanship was king.
Creating Your Own Steampunk Tools
Now that we have a better understanding of what steampunk is, let’s start creating some tools! Here are a few ideas to get you started:
1. Steampunk Goggles
No steampunk outfit is complete without a pair of goggles. Not only do they look cool, but they also serve a practical purpose in protecting your eyes from flying debris when working on your projects.
To create your own pair of steampunk goggles, you’ll need:
– Welding Goggles
– Leather Straps
– Gear Embellishments
– Paint or Spray Paint
Start by removing any unnecessary parts from the welding goggles. Then attach leather straps to the sides using small screws or hot glue. Add gear embellishments to the sides using a strong adhesive, and finish off with a coat of paint or spray paint in your desired color.
2. Steampunk Wrench
A good wrench is an essential tool in any workshop, but why settle for a boring one when you can create your own steampunk version? Here’s what you’ll need:
– Wrench
– Brass Gears
– Copper Tubing
– Epoxy Glue
Start by removing any plastic or rubber parts from your wrench. Then attach brass gears to the sides using epoxy glue. Cut small sections of copper tubing and attach them to the ends of the wrench using more epoxy glue.
Not only will your new steampunk wrench look amazing, but it will also be stronger and more durable than its original counterpart.
3. Steampunk Ray Gun
No steampunk arsenal would be complete without a ray gun. While this may be a more advanced project, the end result will definitely be worth it. Here’s what you’ll need:
– Nerf Gun
– Copper Pipe Fittings
– Brass Rods and Sheets
– Epoxy Glue
– Paint or Spray Paint
Start by disassembling your Nerf gun and removing any unnecessary parts. Cut sections of copper pipe fittings to fit on the barrel and glue them in place using epoxy glue.
Next, create a trigger mechanism using brass rods and sheets, attaching it to the base of the gun using more epoxy glue. Finally, paint or spray paint your ray gun in your desired color scheme.
Not only will your new steampunk ray gun look amazing on display, but it can also serve as a prop for cosplay or LARPing events.
Conclusion
Creating your own steampunk tools is not only fun but also allows you to express your creativity and individuality. Whether you’re just starting out or have been a steampunk enthusiast for years, there’s no limit to what you can create.
So put on your brass goggles and get to work! Your own industrial wonderland awaits.
References:
– Steampunk Wiki: https://steampunk.fandom.com/wiki/Steampunk_Wiki


