Are you tired of looking at those annoying stitches on your clothes? Do you want to get rid of them without damaging the fabric? Well, you’ve come to the right place. In this article, we’ll introduce you to the stitch removal tool and teach you how to use it like a pro.
What is a Stitch Removal Tool?
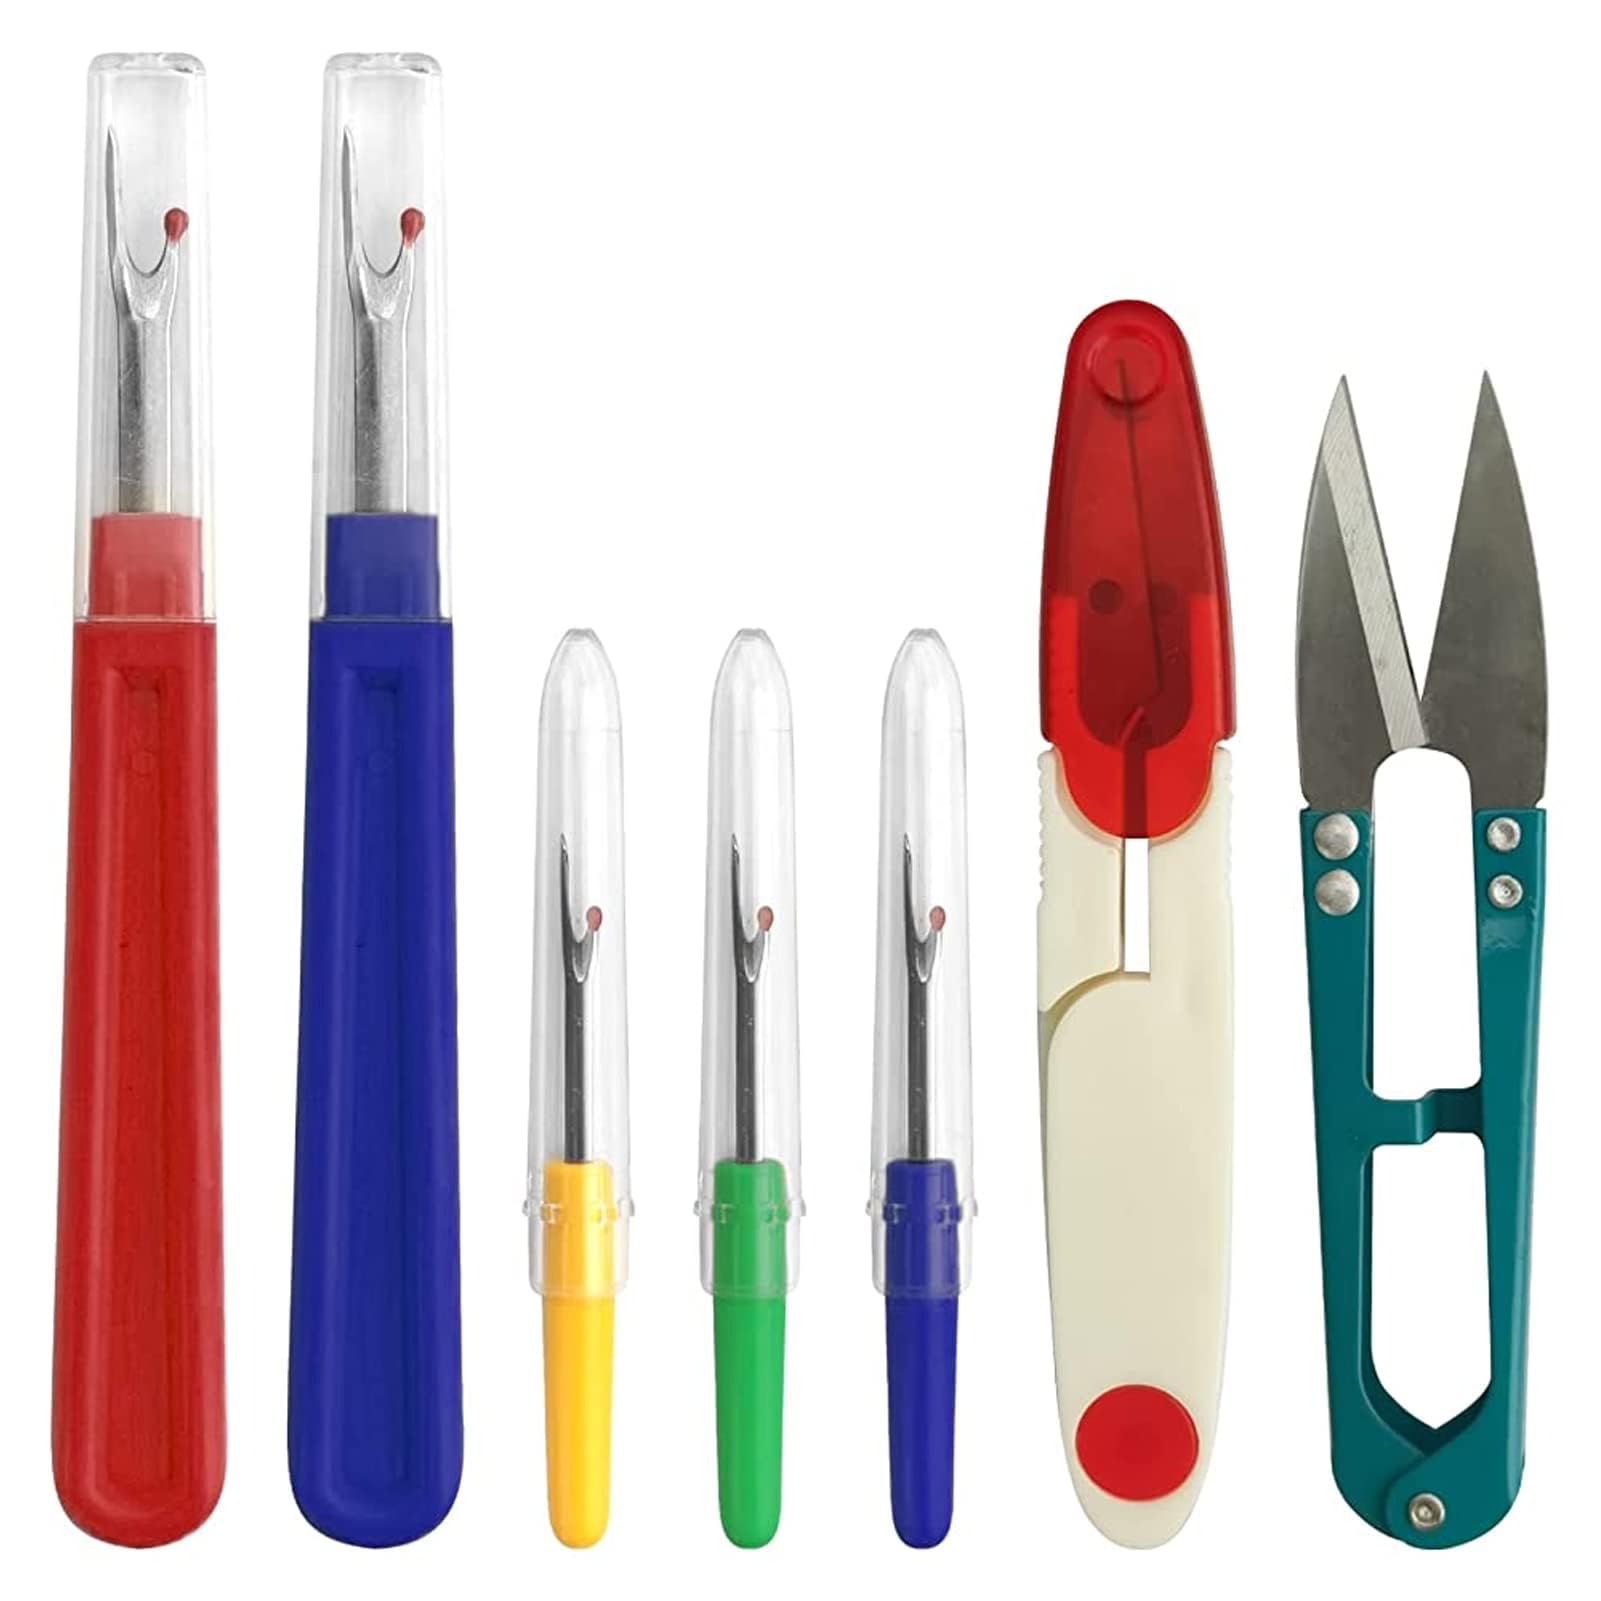
A stitch removal tool is a small device that helps remove unwanted stitches from clothing, upholstery, or any other fabric. It consists of a sharp blade attached to a handle, which makes it easy to maneuver around the fabric.
Using a Stitch Removal Tool
Before using a stitch removal tool, it’s important to identify the type of stitch used on the fabric. There are different types of stitches such as straight stitches, zigzag stitches, and overlock stitches. Each type requires different techniques for removal.
Straight Stitches
Straight stitches are commonly used in sewing projects and are easy to remove with a stitch removal tool. To remove straight stitches, follow these steps:
1. Identify the stitch line and loosen any knots or ties.
2. Place the blade of the stitch removal tool under one side of the stitch and pull gently.
3. Move the blade along the stitch line until all of the stitches have been removed.
4. Use a lint roller or tape to remove any loose threads or fibers.
Zigzag Stitches
Zigzag stitches are commonly found on knit fabrics and are used to prevent fraying. To remove zigzag stitches, follow these steps:
1. Identify the stitch line and loosen any knots or ties.
2. Use a seam ripper or small scissors to cut through every other stitch in the zigzag pattern.
3. Pull gently on the thread between each cut until all of the stitches have been removed.
4. Use a lint roller or tape to remove any loose threads or fibers.
Overlock Stitches
Overlock stitches are commonly found on the edges of fabric and are used to prevent fraying. To remove overlock stitches, follow these steps:
1. Identify the stitch line and loosen any knots or ties.
2. Use a seam ripper or small scissors to cut through every other stitch in the overlock pattern.
3. Pull gently on the thread between each cut until all of the stitches have been removed.
4. Use a lint roller or tape to remove any loose threads or fibers.
Tips for Using a Stitch Removal Tool
– Always work from the right side of the fabric to avoid damaging the wrong side.
– Be gentle when removing stitches to avoid damaging the fabric.
– Use a magnifying glass if necessary to see small stitches.
– Practice on scrap fabric before attempting to remove stitches from your clothing or upholstery.
Conclusion
A stitch removal tool is a handy device that can save you time and money by allowing you to fix your clothes at home instead of taking them to a tailor. With a little practice, you’ll be able to use this tool like a pro and say goodbye to those unwanted stitches!
References
– “Stitch Ripper.” Wikipedia, Wikimedia Foundation, 18 Aug. 2021, en.wikipedia.org/wiki/Stitch_ripper