If you’re an HVAC technician, then you know how important it is to have the right tools for the job. One of the most essential tools in your arsenal is the flare tool HVAC, which helps you create tight and secure connections between pipes and fittings.
In this article, we’ll go over everything you need to know about using a flare tool HVAC. From its different types and sizes to tips on how to use it effectively, we’ve got you covered. So let’s get started!
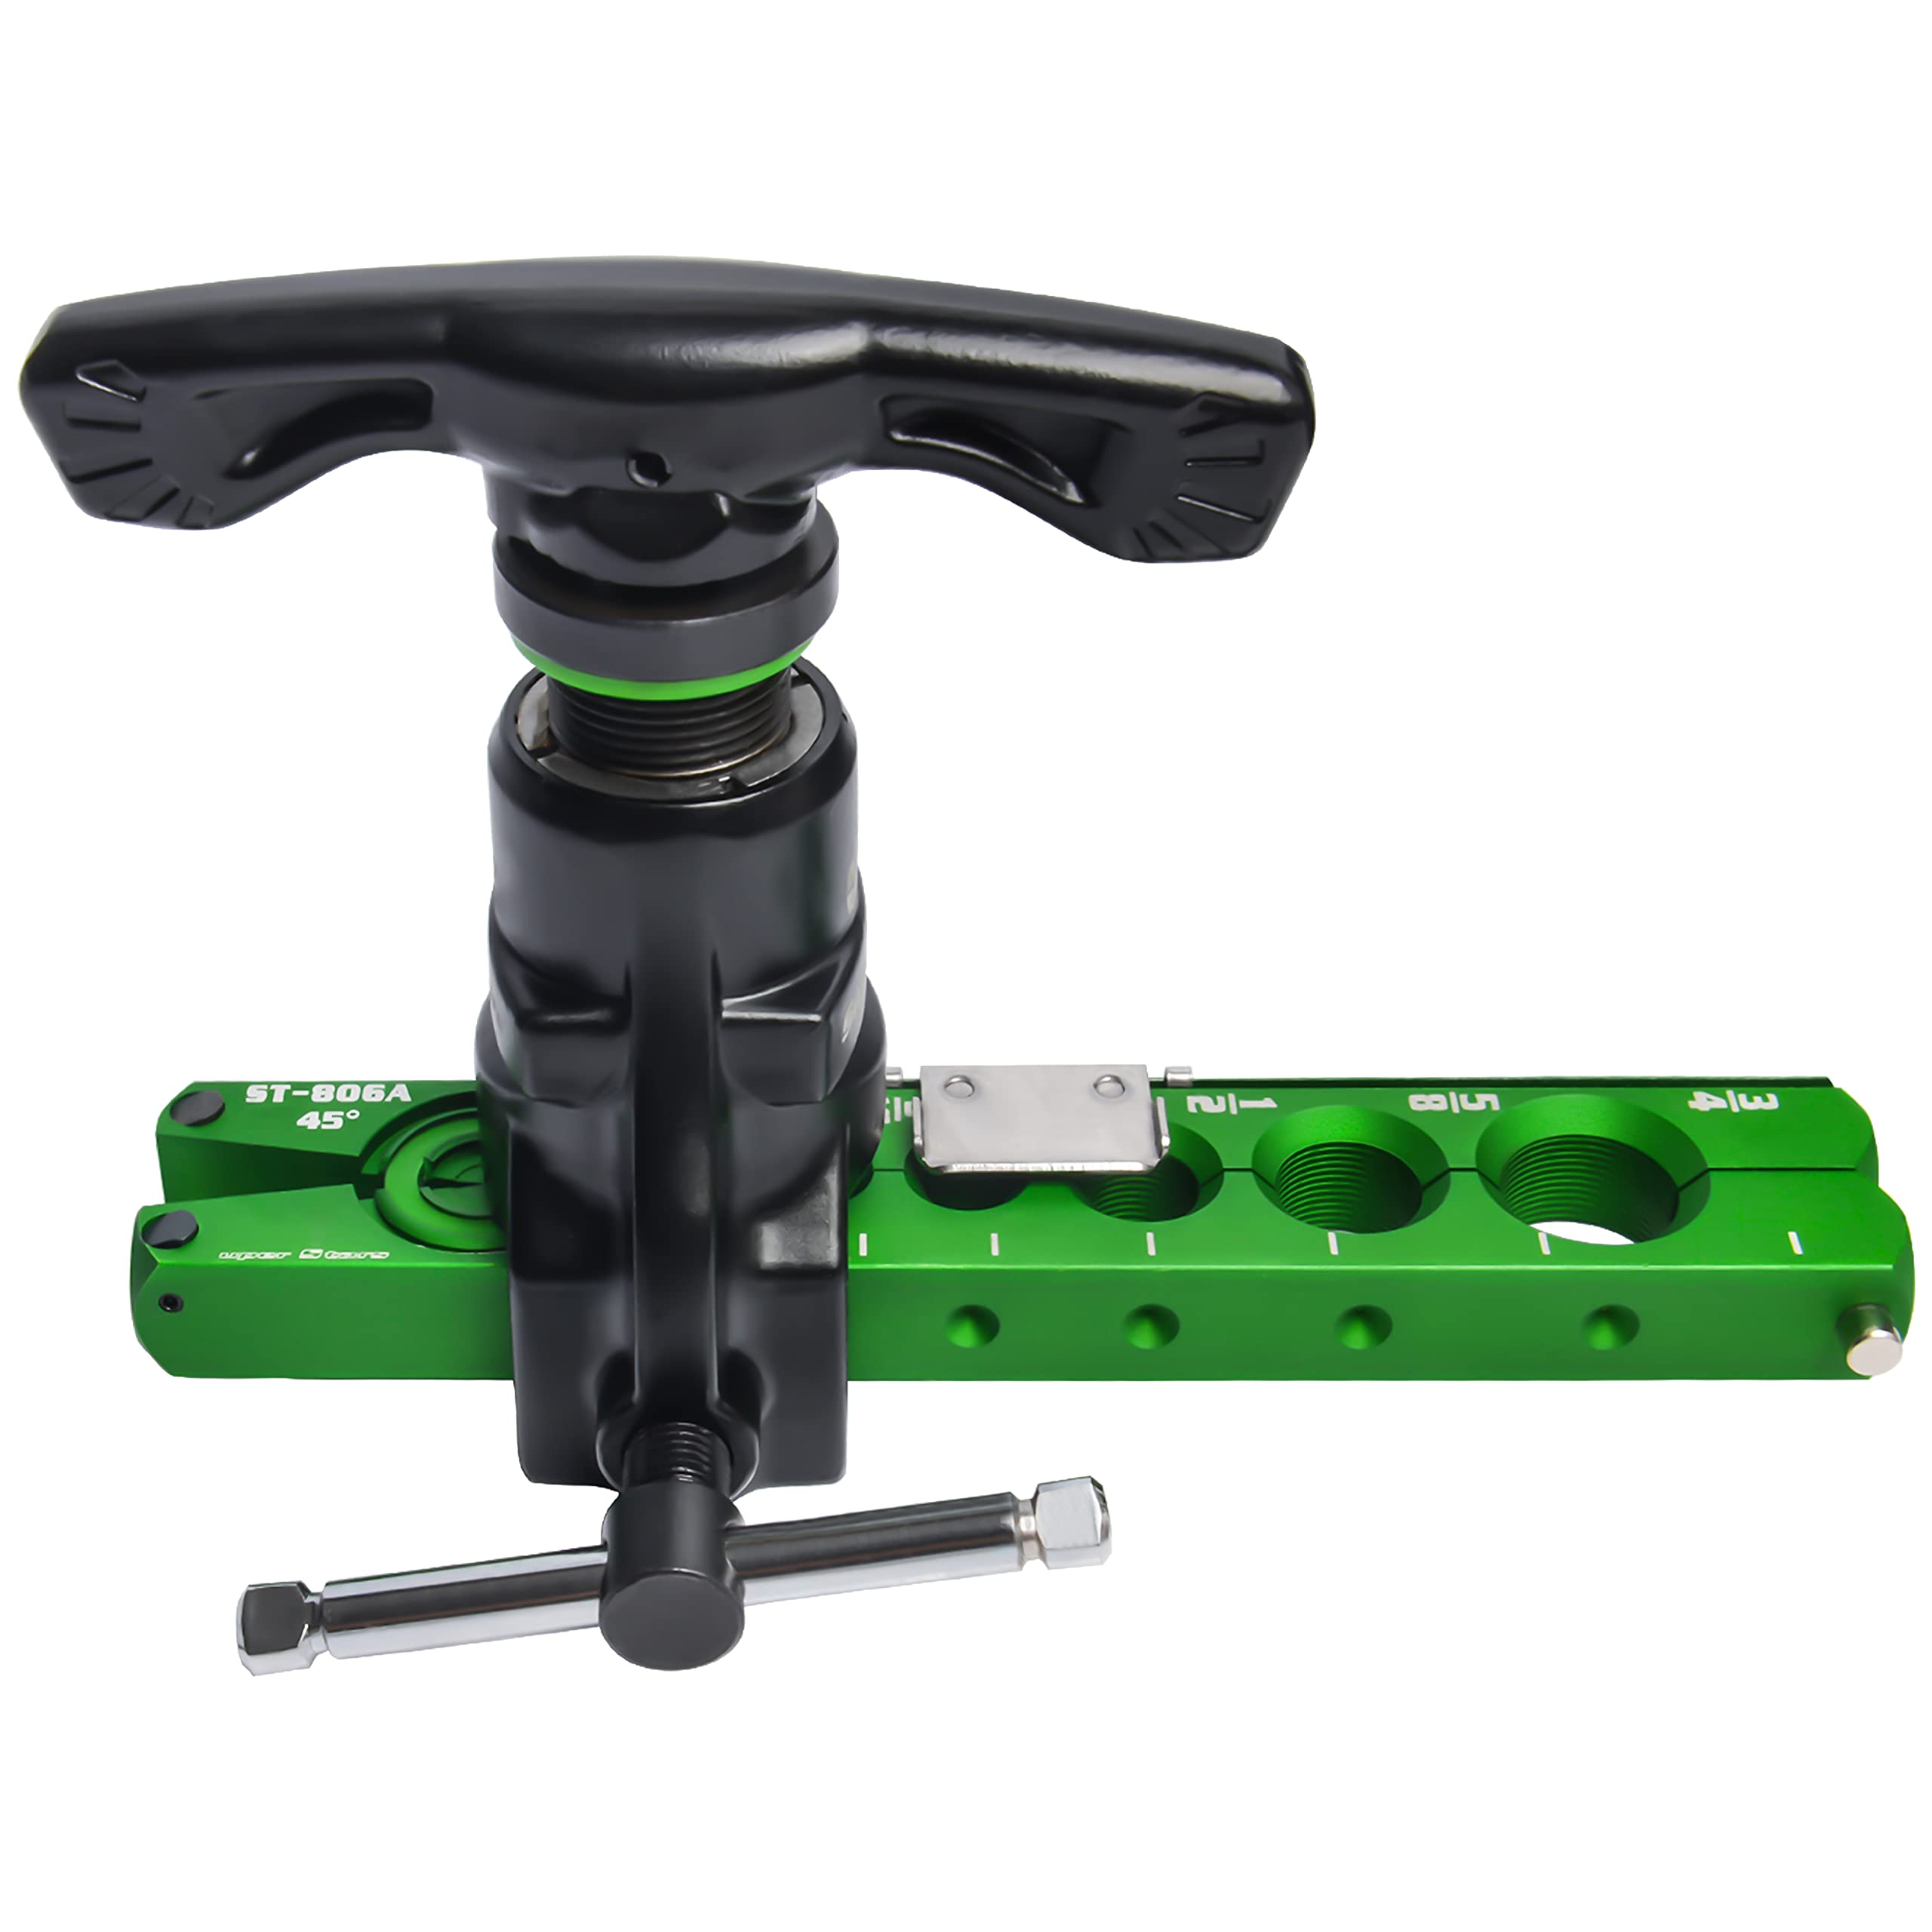
Types of Flare Tool HVAC
There are two main types of flare tool HVAC: the single flare and the double flare. The single flare tool is used for creating flares with just one lip, while the double flare tool produces flares with two lips.
The choice between these two types of tools largely depends on the type of application you’re working on. Single flares are commonly used in low-pressure applications such as air conditioning units, while double flares are preferred for high-pressure systems such as refrigeration units.
Apart from choosing between single and double flares, you also need to consider the size of your tool. Most flare tools come in a range of sizes from 3/16″ to 5/8″. Make sure you choose a size that matches the diameter of the pipe you’re working with.
How to Use a Flare Tool HVAC
Using a flare tool HVAC may seem daunting at first, but once you get the hang of it, it becomes second nature. Here’s a step-by-step guide on how to use a flare tool:
Step 1: Cut your pipe – Before flaring your pipe, you need to cut it to the correct length using a pipe cutter or hacksaw. Make sure your cut is clean and straight.
Step 2: Deburr – After cutting your pipe, use a deburring tool to remove any rough edges or burrs that could interfere with the flaring process.
Step 3: Insert your pipe – Slide your pipe into the flare tool until it is flush against the top of the flare block.
Step 4: Tighten the clamp – Once your pipe is in place, tighten the clamp on the flare tool so that it holds your pipe securely in place.
Step 5: Flare – Using your chosen flare tool, begin flaring your pipe by rotating it clockwise around the cone. Keep rotating until you’ve achieved the desired flare shape.
Step 6: Remove your pipe – After flaring, loosen the clamp and slide your pipe out of the flare tool.
Tips for Effective Use
While using a flare tool HVAC may seem straightforward, there are a few tips and tricks that can help you get even better results:
Tip #1: Use lubricant – Applying a small amount of lubricant to your pipe before inserting it into the flare tool can make it easier to create a tight and smooth flare.
Tip #2: Check for leaks – After flaring, perform a pressure test on your system to check for any leaks. This will help ensure that your connections are secure and won’t fail under pressure.
Tip #3: Practice makes perfect – Like any skill, using a flare tool HVAC takes practice. The more you use it, the more comfortable and confident you’ll become.
Conclusion
Using a flare tool HVAC is an essential part of any HVAC technician’s job. Whether you’re working with low-pressure air conditioning units or high-pressure refrigeration systems, knowing how to create tight and secure connections is crucial for preventing leaks and ensuring optimal performance.
By following our guide on different types, sizes, and tips for effective use, you’ll be well on your way to mastering this important tool. Remember to practice regularly, check for leaks after flaring, and always use the appropriate size and type of flare tool for your application.
References:
1. “Flaring Tools for HVAC,” HVAC School, https://hvacrschool.com/flaring-tools-for-hvac/
2. “How to Use a Flare Tool,” wikiHow, https://www.wikihow.com/Use-a-Flare-Tool
3. “HVAC Flaring Tool Buying Guide,” HVAC How To, https://hvachowto.com/hvac-flaring-tool-buying-guide/