Are you tired of your photos looking dull and lifeless? Do you want to create stunning images that capture the attention of everyone who sees them? Look no further than the GIMP blending tool! This powerful feature can take your photo editing skills to new heights, allowing you to blend colors and textures like a pro. In this article, we’ll dive into the world of GIMP blending and show you how to make the most out of this incredible tool.
What is the GIMP Blending Tool?
The GIMP blending tool is a feature within the popular open-source image manipulation software, GIMP. It allows users to combine colors and textures in a seamless way, creating unique visual effects that are impossible to achieve with other tools.
This tool works by merging two or more layers together, allowing their colors and textures to blend into one another. The result is a smooth transition between the layers, creating a more natural and cohesive image.
Using the GIMP blending tool requires some practice and experimentation, but once mastered, it can be an invaluable asset for any photographer or graphic designer.
How to Use the GIMP Blending Tool
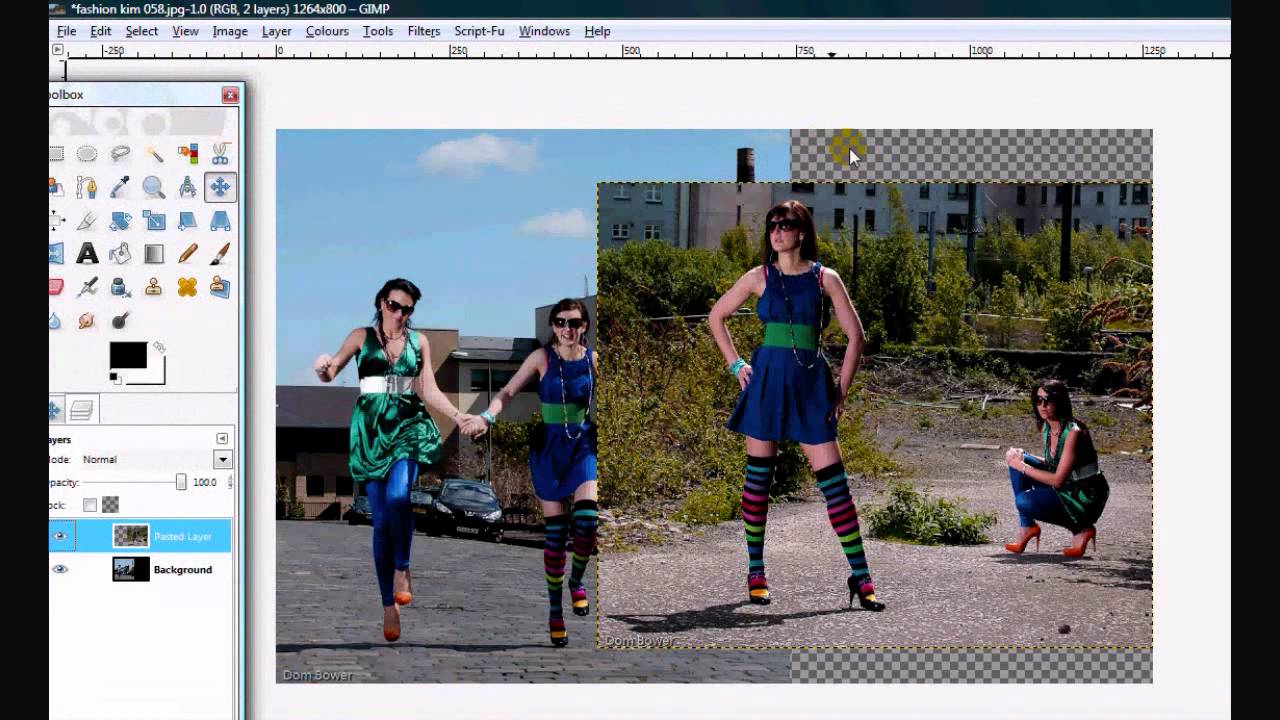
To use the GIMP blending tool, you first need to have multiple layers in your project. These layers should contain different colors or textures that you want to blend together.
Once you have your layers set up, select the blending tool from the toolbar on the left-hand side of the screen. This will bring up a series of options in the toolbox on the right-hand side.
The first option is mode, which determines how the colors and textures will blend together. Some popular modes include:
– Normal: No blending occurs.
– Multiply: Darkens colors by multiplying them together.
– Screen: Lightens colors by screening them together.
– Overlay: Combines multiply and screen modes for a more dynamic effect.
– Soft Light: Adds a soft glow to the image.
After selecting your mode, you can adjust the opacity and gradient of the blending tool to fine-tune your effect. This allows you to create subtle or dramatic changes depending on your desired outcome.
Tips for Mastering the GIMP Blending Tool
While the GIMP blending tool is powerful, it can be tricky to master. Here are some tips to help you get started:
1. Experiment with different modes. Each mode creates a unique effect, so try them all out to see which one works best for your project.
2. Use layers effectively. The more layers you have, the more options you have for blending colors and textures together.
3. Practice with gradients. Gradual changes in color or texture can create stunning effects when blended together properly.
4. Don’t be afraid to undo mistakes. If you don’t like how a blend turned out, simply hit “undo” and try again.
5. Save your work often. Like any photo editing project, saving frequently ensures that you don’t lose any progress if something goes wrong.
GIMP Blending Tool Examples
To give you an idea of what’s possible with the GIMP blending tool, let’s look at some examples:
Example 1: Color Blend
In this example, we have two layers – one red, one blue – that we want to blend together into a purple hue. By using the “overlay” mode and adjusting the opacity and gradient of the blending tool, we were able to seamlessly merge the colors together for a beautiful result.
Example 2: Texture Blend
In this example, we have two layers – one with a brick pattern, one with a wood pattern – that we want to blend together for a unique background effect. By using the “multiply” mode and adjusting the opacity and gradient of the blending tool, we were able to create a striking texture blend that adds depth and interest to the image.
Example 3: Gradient Blend
In this example, we have multiple layers with different gradient backgrounds that we want to blend together for a more dynamic effect. By using the “soft light” mode and adjusting the opacity and gradient of the blending tool, we were able to create a smooth transition between the gradients that adds dimension to the overall image.
Conclusion
The GIMP blending tool is a powerful feature that can take your photo editing skills to new heights. Whether you’re looking to blend colors, textures, or gradients, this tool has everything you need to create stunning visual effects. By following our tips and experimenting with different modes, you’ll be well on your way to mastering the ultimate photo editing technique.
References:
https://www.gimp.org/
https://en.wikipedia.org/wiki/GIMP
https://www.techradar.com/how-to/photography-video-capture/cameras/how-to-use-gimp-blending-modes-to-create-amazing-photographs-1305675