Leather tooling is a craft that has been around for centuries. It’s the art of carving, stamping, and embossing leather to create beautiful designs on various leather products like belts, wallets, bags, shoes, and more.
If you’re someone who loves working with their hands and wants to create something unique and special, then leather tooling might be the perfect hobby for you. In this article, we’ll go over everything you need to know about leather tooling – from the tools you need to get started to advanced techniques for creating intricate designs.
So grab your leather and let’s get started!
Tools Needed for Leather Tooling
Before you can start creating beautiful designs on leather, you’ll need to gather some essential tools. Here are some of the most important ones:
1. Mallet – A mallet is used to strike the tools that will help you create impressions or cuts on the leather.
2. Leather Punch – This tool is used to make holes in the leather for stitching or adding decorative elements.
3. Swivel Knife – A swivel knife is used to cut lines into the leather before stamping it with a design.
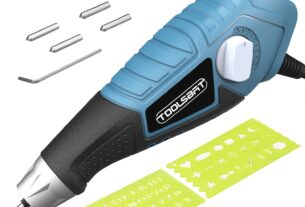
4. Stamps – There are a variety of stamps available for different types of designs. They come in different shapes and sizes and are used to impress an image onto the leather.
5. Bevelers – Bevelers are used to create a smooth, rounded edge around your design.
6. Edge Dye – Edge dye is used to color the edges of your project for a professional look.
7. Leather Conditioner – Leather conditioner helps keep your project supple and prevents cracking over time.
8. Cutting Board – A cutting board provides a stable surface for cutting your leather without damaging your work area.
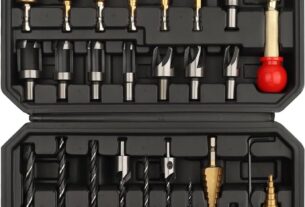
These are just some of the basic tools needed for leather tooling. There are many more specialized tools available for different techniques and designs.
Getting Started with Leather Tooling
Now that you have your tools, it’s time to start practicing your leather tooling skills. Here are the basic steps you’ll need to follow:
1. Choose Your Leather – You’ll want to choose a piece of high-quality leather for your project. Vegetable-tanned leather is the best choice for tooling because it has a firm surface that holds impressions well.
2. Prepare Your Leather – Before you can start tooling, you’ll need to prepare your leather by dampening it with water or a special solution called “leather casing.” This will make the leather more pliable and easier to work with.
3. Trace Your Design – Use a pencil or pen to trace your design onto the leather. You can also use a stencil if you’re not confident in your freehand drawing skills.
4. Cut Your Lines – Use a swivel knife to cut along the lines of your design. Be sure to use steady pressure and keep your hand at a consistent angle.
5. Stamp Your Design – Once you’ve cut your lines, it’s time to stamp your design onto the leather. Choose the appropriate stamp for each part of your design and tap it firmly with a mallet.
6. Bevel the Edges – After you’ve stamped your design, use a beveler to create a smooth edge around your design.
7. Dye the Edges – Finally, use edge dye to color the edges of your project for a professional finish.
Advanced Techniques for Leather Tooling
Once you’ve mastered the basics of leather tooling, there are many advanced techniques you can try. Here are just a few:
1. Embossing – Embossing involves creating raised designs on leather using heat and pressure. This technique is often used to create intricate patterns or logos on leather products.
2. Carving – Carving involves using a swivel knife to create deeper cuts in the leather, resulting in a more three-dimensional design.
3. Painting – Leather can be painted with special leather paints to create colorful designs or add shading to stamped patterns.
4. Burnishing – Burnishing involves rubbing the edges of your project with a slicker tool and burnishing solution to create a smooth, polished edge.
5. Tooling on Multiple Layers – You can also add depth and complexity to your designs by tooling on multiple layers of leather and then gluing them together.
Conclusion
Leather tooling is a fun and rewarding hobby that allows you to create beautiful, one-of-a-kind pieces. Whether you’re a beginner or an experienced crafter, there’s always something new to learn in the world of leather tooling.
So grab your tools and start experimenting with different techniques and designs. Who knows? You may just create your own masterpiece!
Reference:
Wikipedia contributors. (2021, June 26). Leather crafting. In Wikipedia, The Free Encyclopedia. Retrieved 09:25, July 7, 2021, from https://en.wikipedia.org/w/index.php?title=Leather_crafting&oldid=1029550839